-
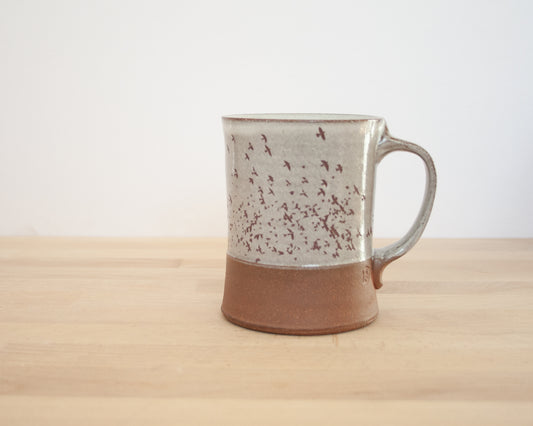
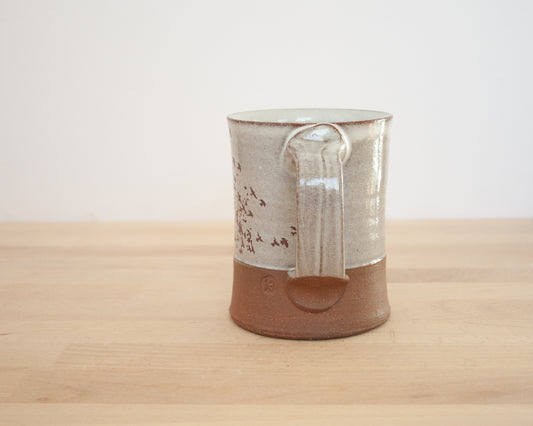
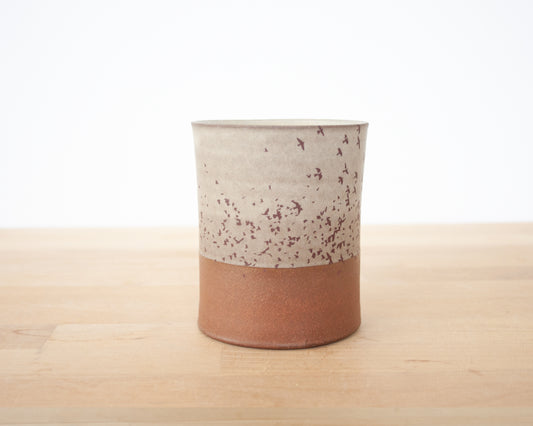
Flock of Birds Mug - white
Regular price $38.00 USDRegular priceUnit price per -
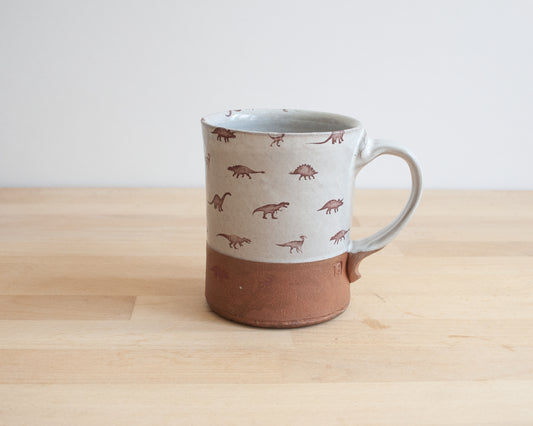
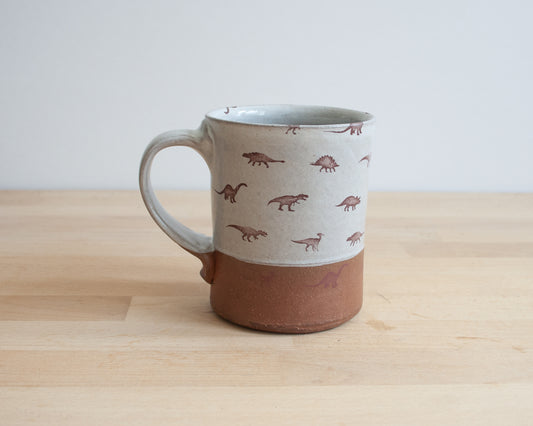
Mug with Small Dino Pattern - white
Regular price $38.00 USDRegular priceUnit price per -
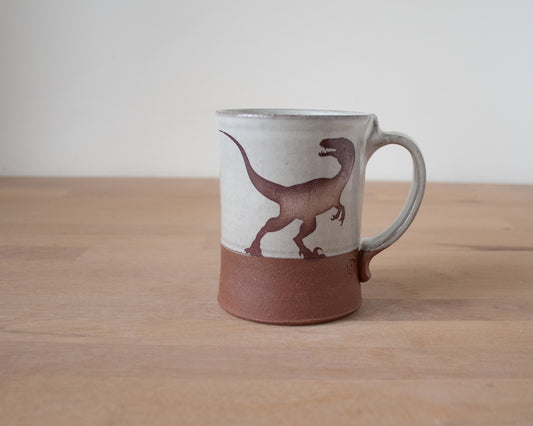
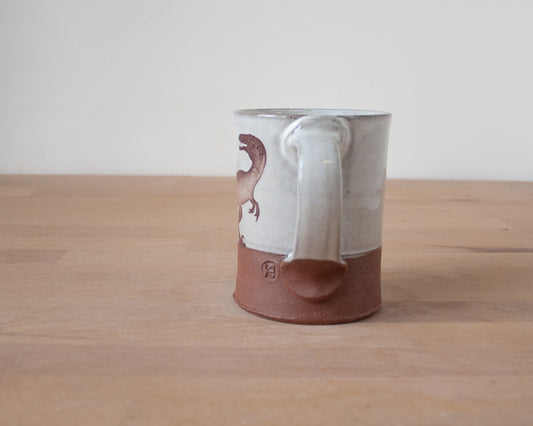
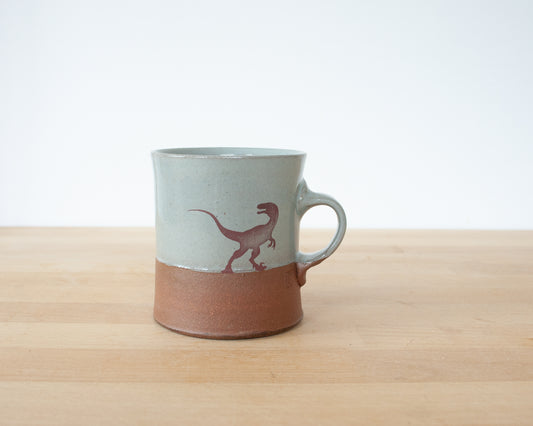
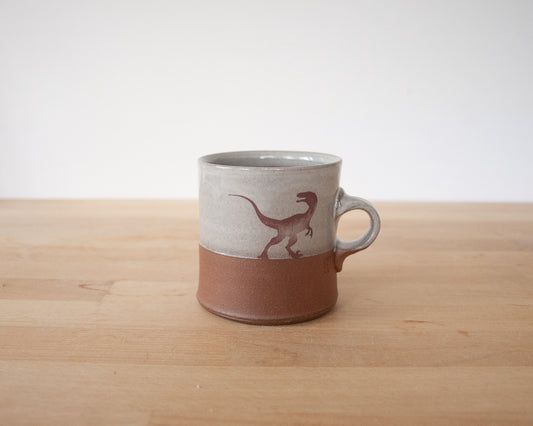
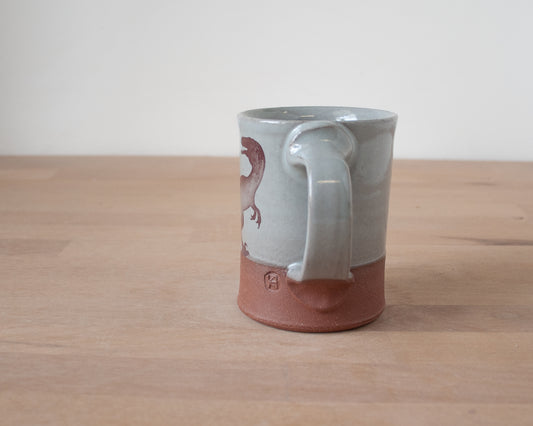
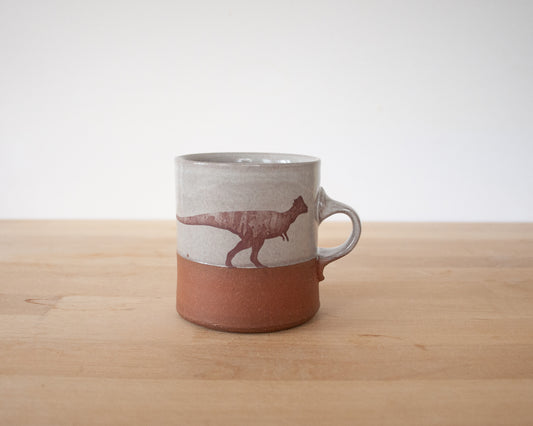
Velociraptor Mug - white
Regular price $38.00 USDRegular priceUnit price per -
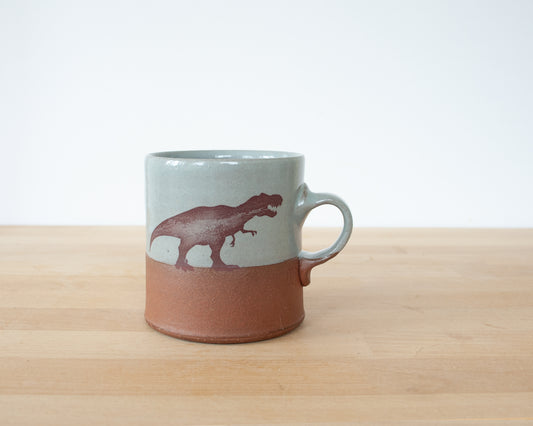
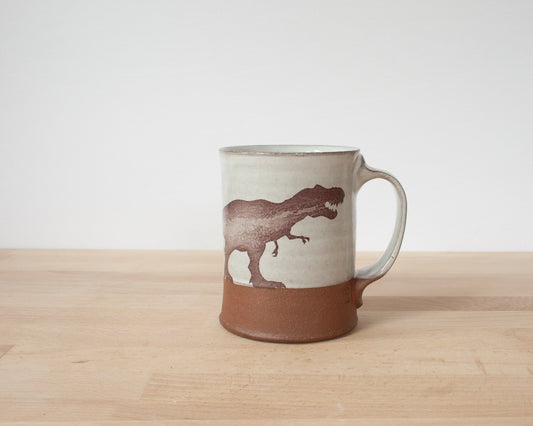
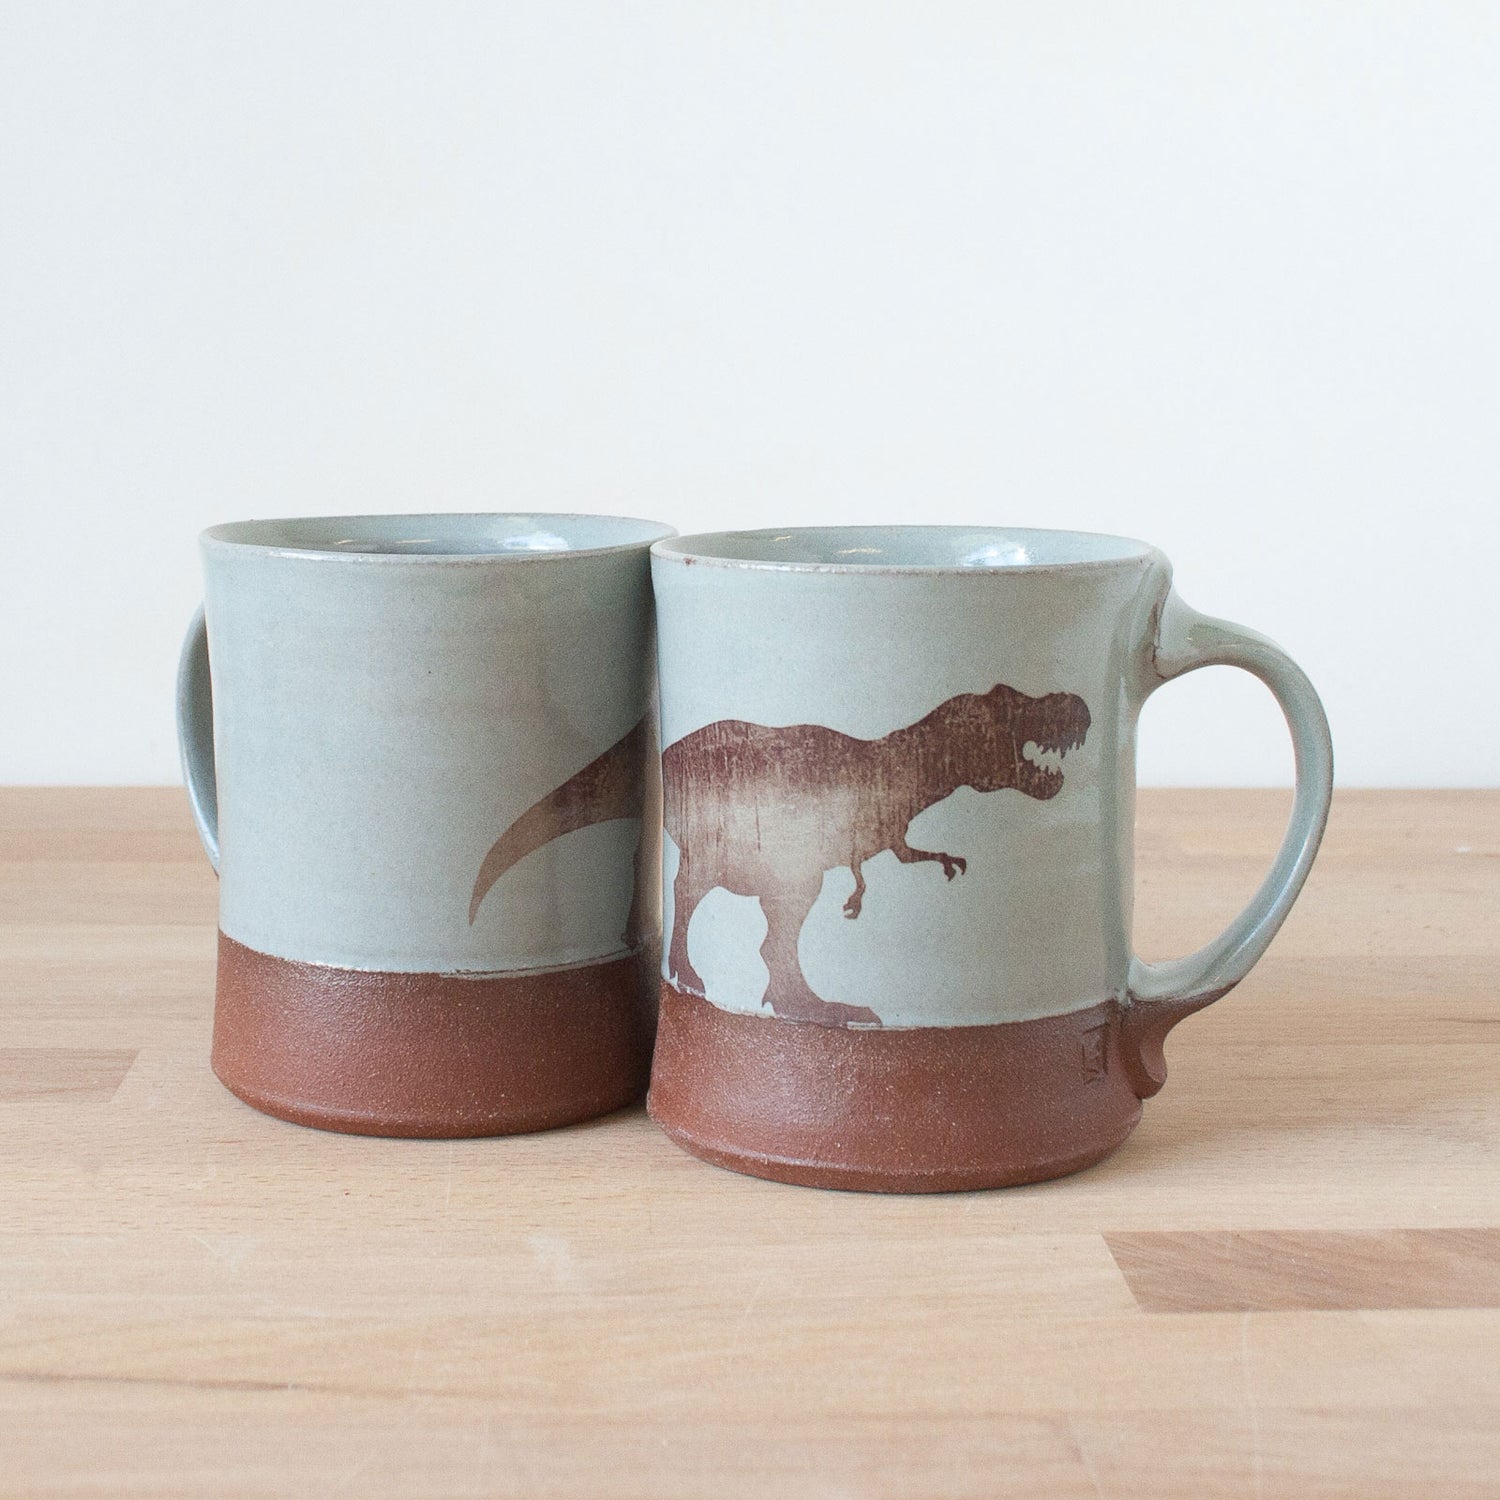
T-Rex Americano Mug - blue
Regular price $36.00 USDRegular priceUnit price per -
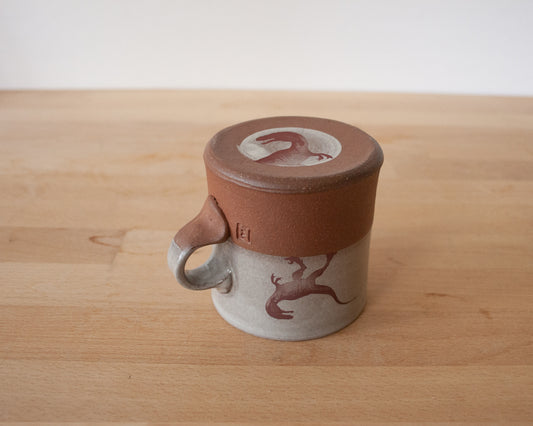
Velociraptor Americano Mug - blue
Regular price $36.00 USDRegular priceUnit price per -
T-Rex Mug - white
Regular price $38.00 USDRegular priceUnit price per -
Velociraptor Americano Mug - white
Regular price $36.00 USDRegular priceUnit price per -
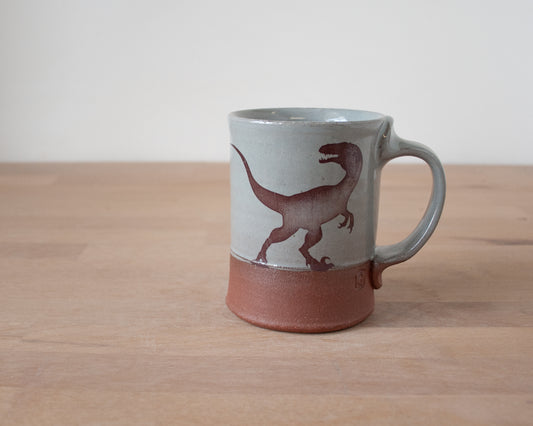
Velociraptor Mug - blue
Regular price $38.00 USDRegular priceUnit price per -
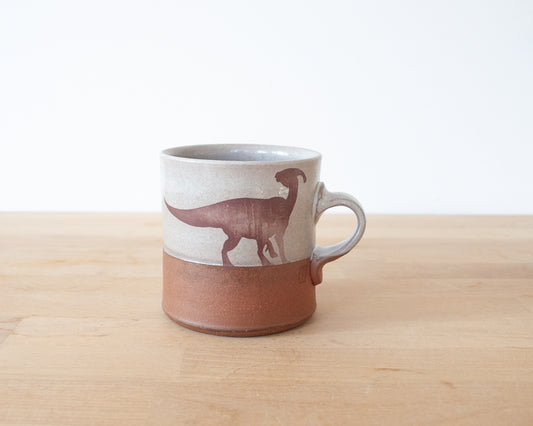
Paraaurolophus Americano Mug - white
Regular price $36.00 USDRegular priceUnit price per -
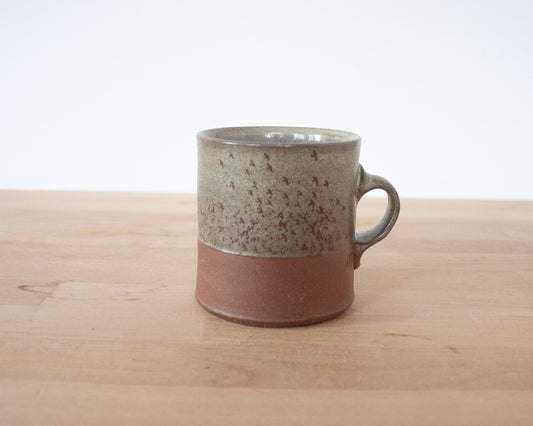
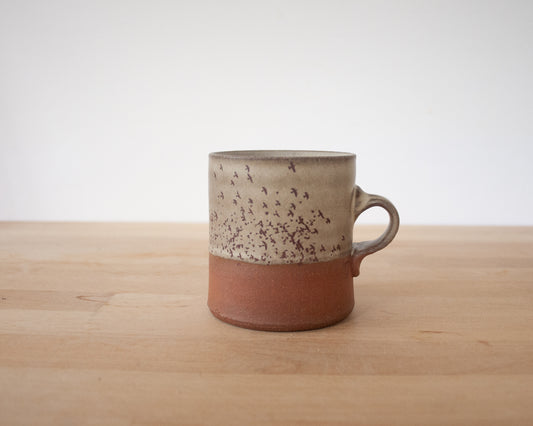
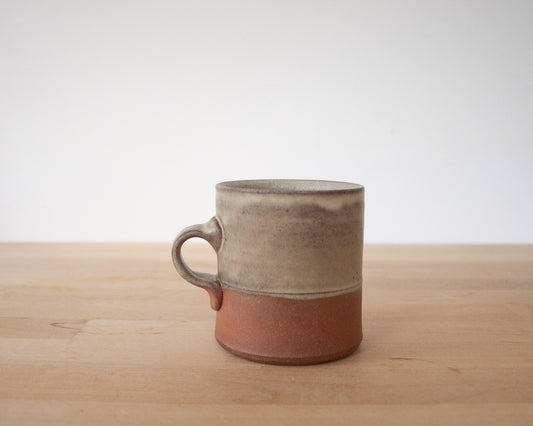
Americano Mug with Flock of Birds - speckled green
Regular price $36.00 USDRegular priceUnit price per -
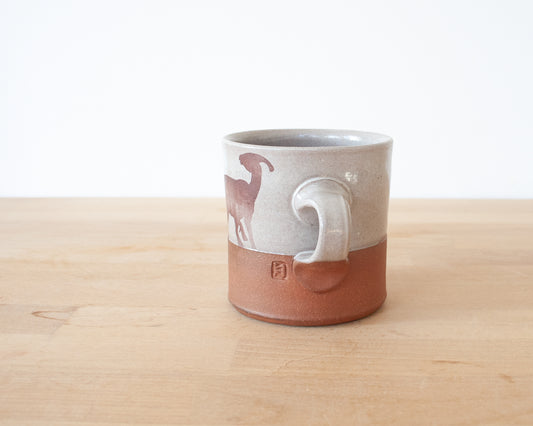
Pachycephalosaurus Americano Mug - white
Regular price $36.00 USDRegular priceUnit price per -
Flock of Birds Mug - matte grey
Regular price $38.00 USDRegular priceUnit price per


NEW WORK
-
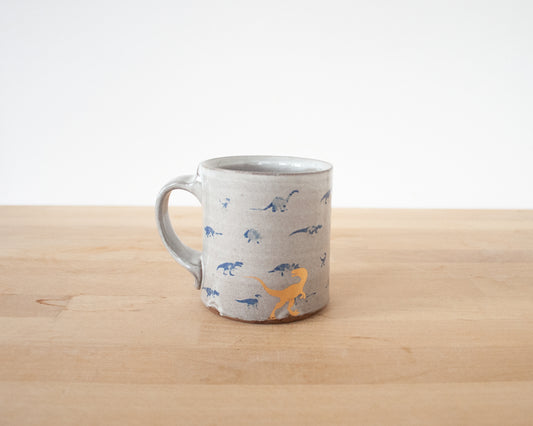
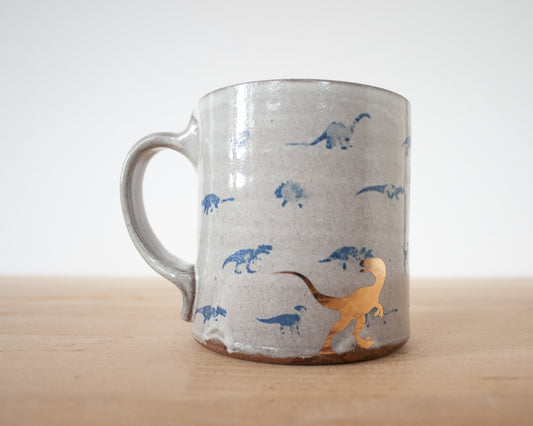
Gold Velociraptor Mug with small blue dinos
Regular price $58.00 USDRegular priceUnit price per -
Americano Mug with Flock of Birds - speckled green
Regular price $36.00 USDRegular priceUnit price per -
Americano Mug with Flock of Birds
Regular price $36.00 USDRegular priceUnit price per -
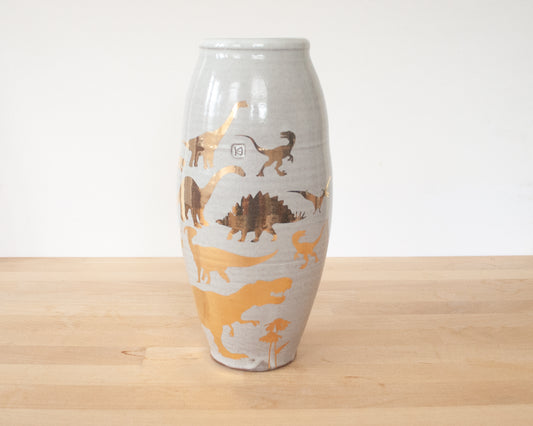
Gold Dinosaur Vase
Regular price $200.00 USDRegular priceUnit price per -
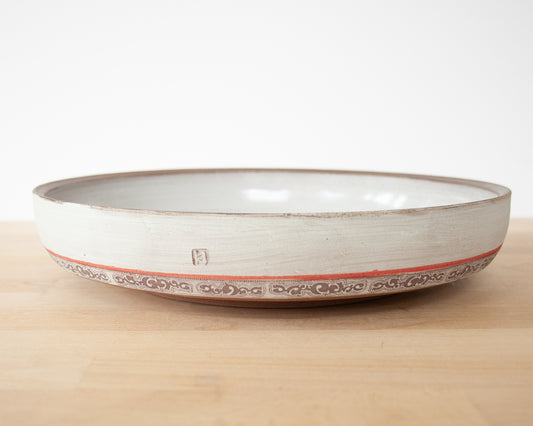
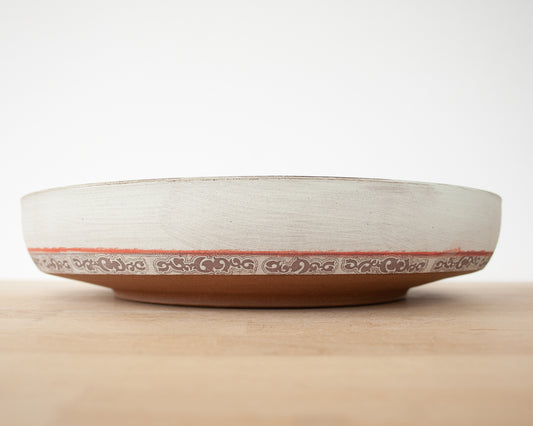
Serving Bowl
Regular price $76.00 USDRegular priceUnit price per -
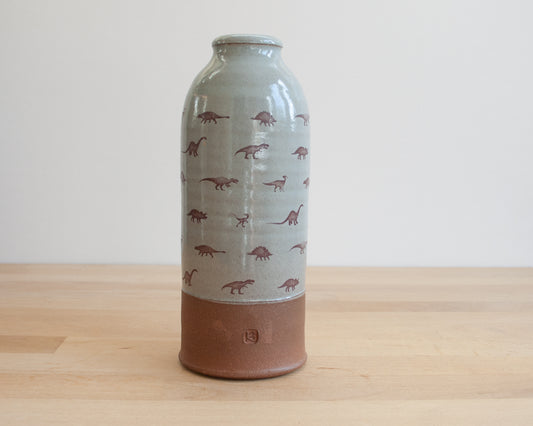
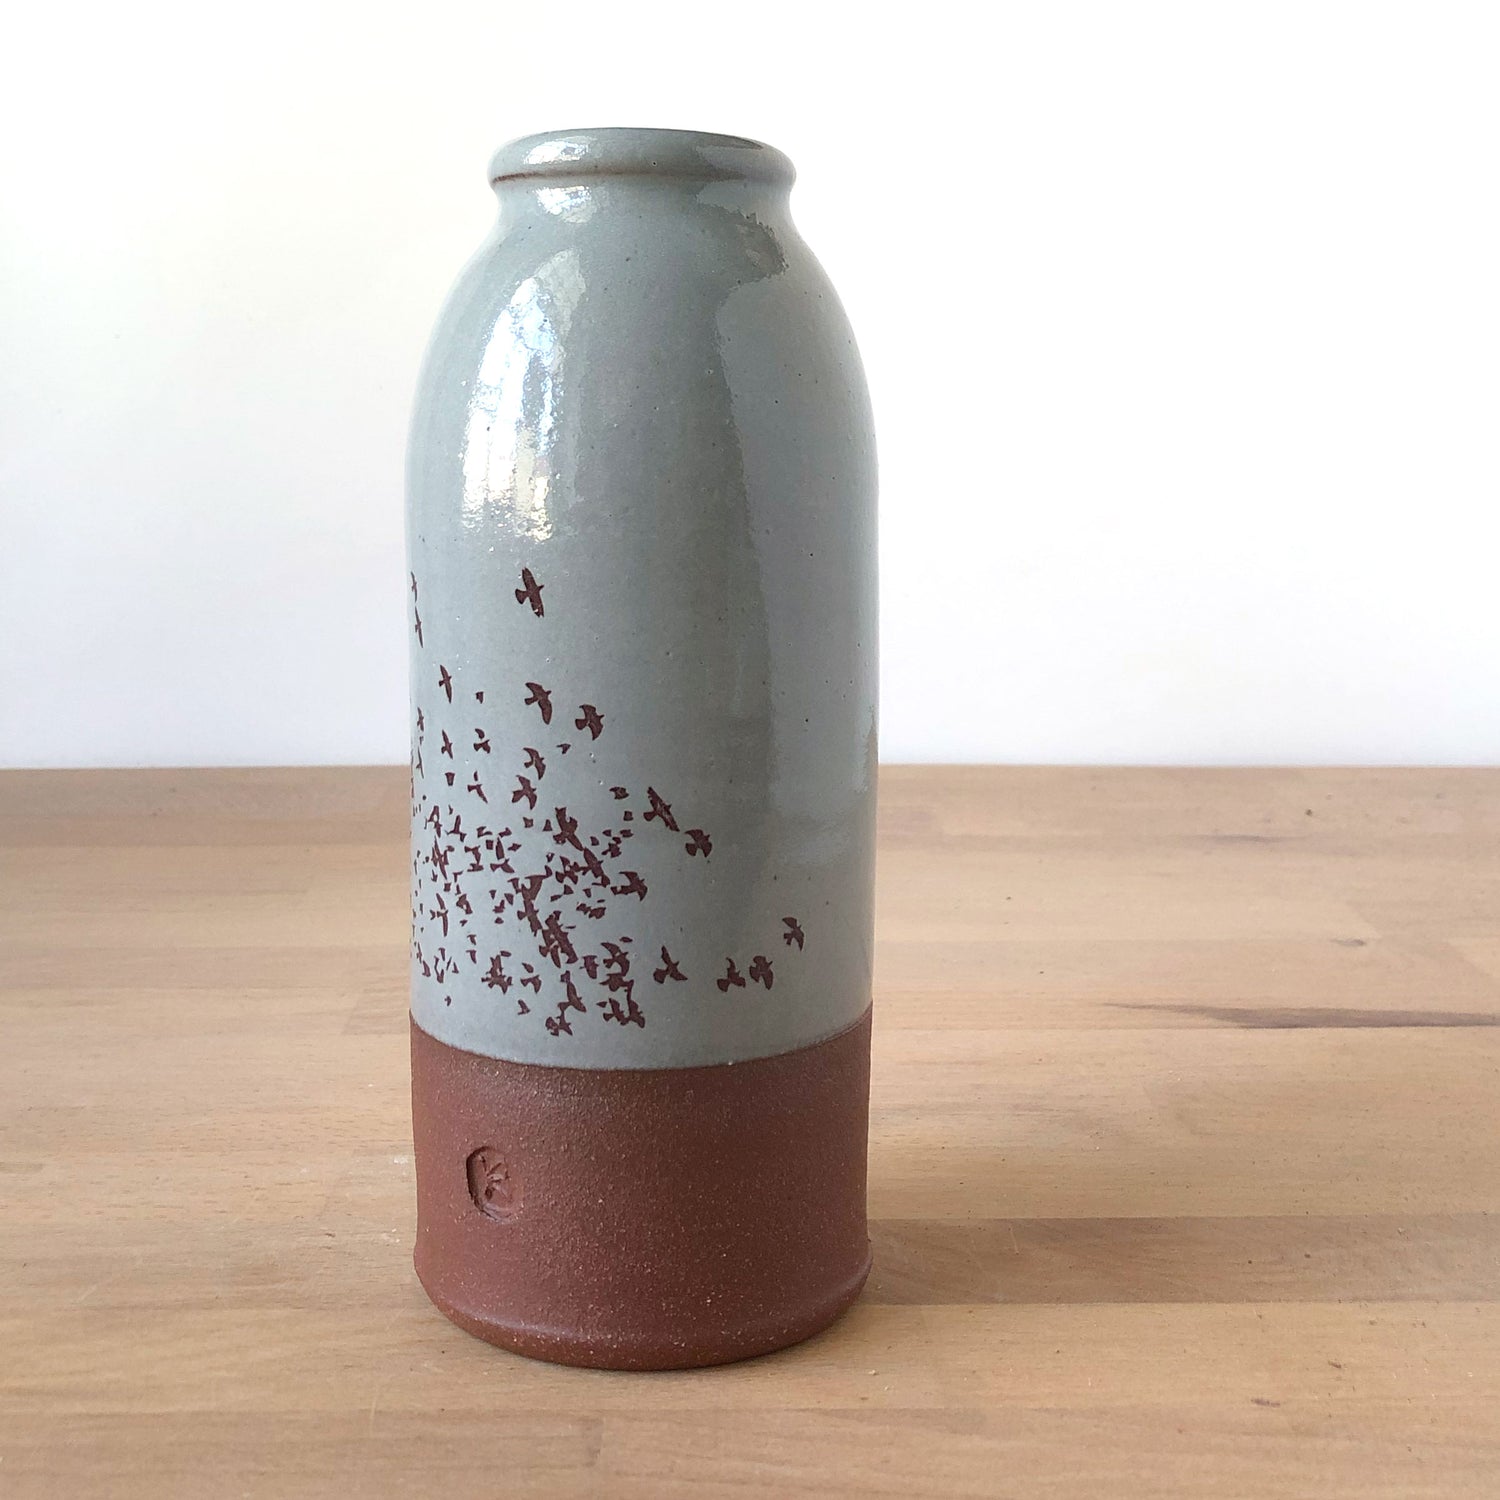
Vase with Little Dinosaurs - blue
Regular price $58.00 USDRegular priceUnit price per -
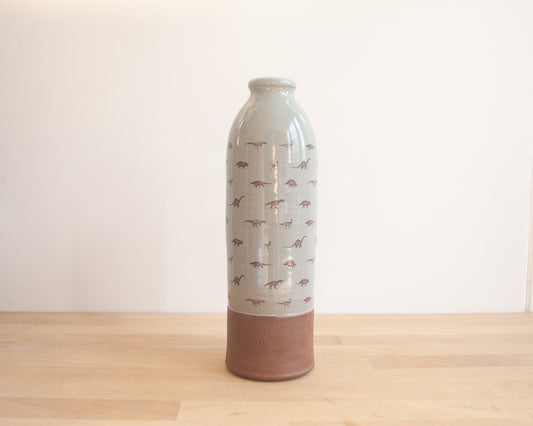
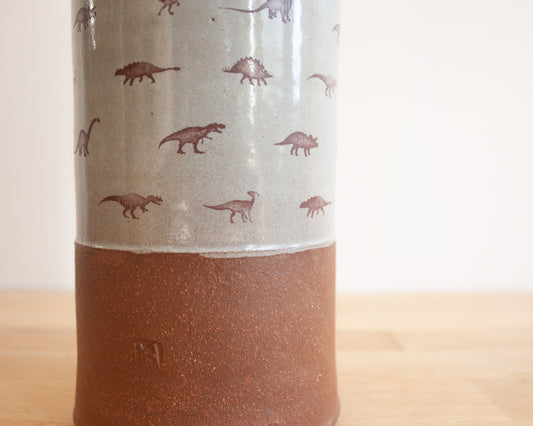
Vase with Dino Pattern, Large - blue
Regular price $78.00 USDRegular priceUnit price per -
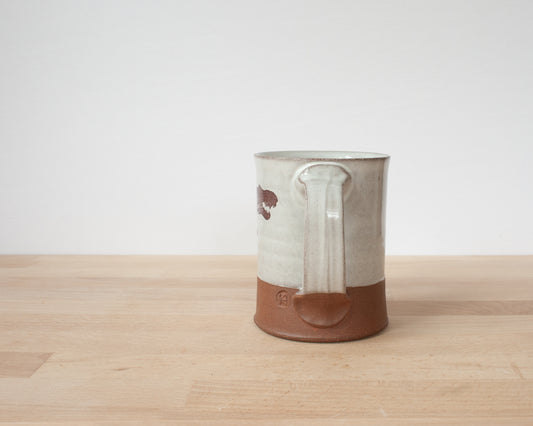
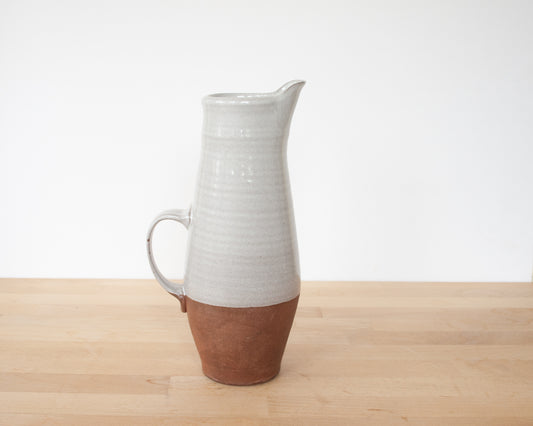
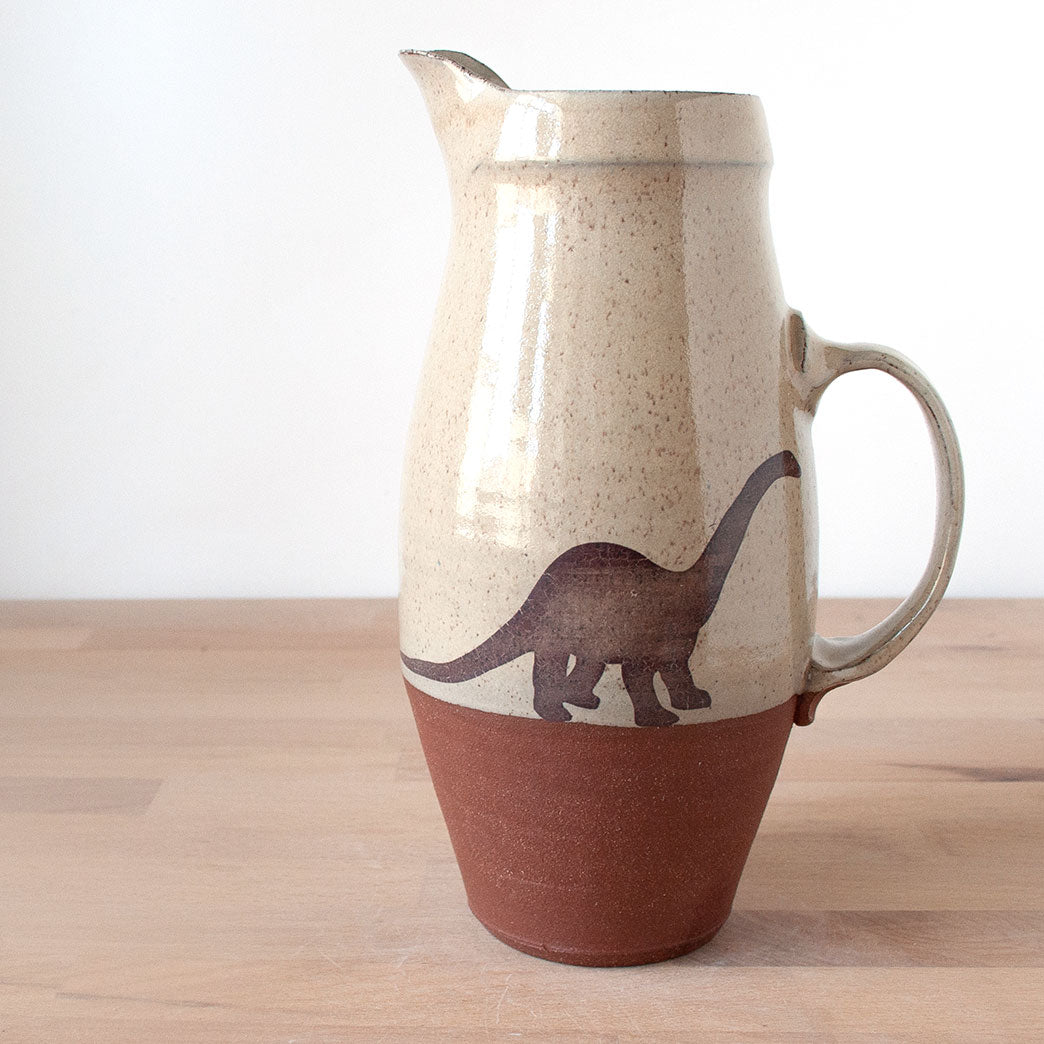
Velociraptor Pitcher - white
Regular price $76.00 USDRegular priceUnit price per


ORNAMENTS
-
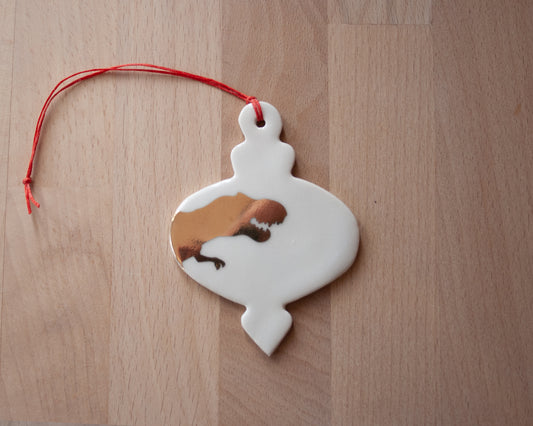
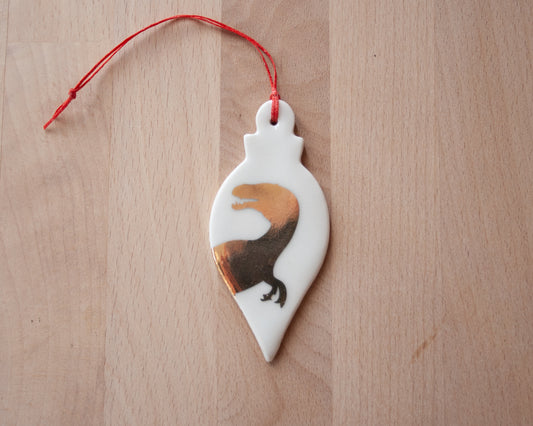
Gold T-Rex Ornament
Regular price $20.00 USDRegular priceUnit price per -
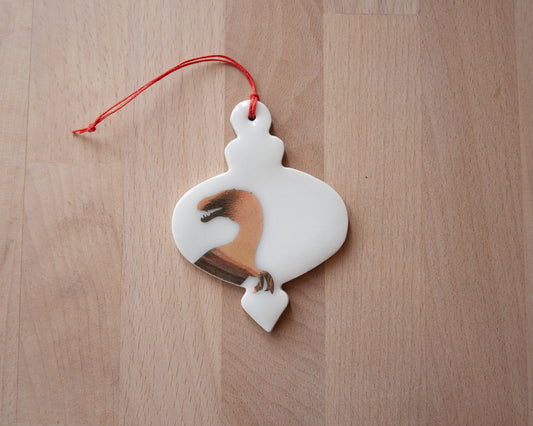
Gold Velociraptor Ornament
Regular price $20.00 USDRegular priceUnit price per -
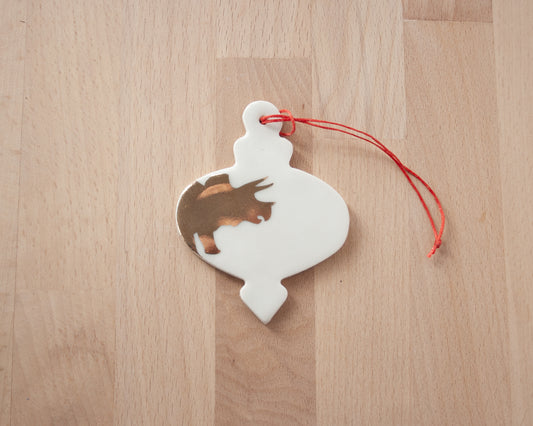
Gold Triceratops Ornament
Regular price $20.00 USDRegular priceUnit price per -
Gold Velociraptor Ornament
Regular price $20.00 USDRegular priceUnit price per
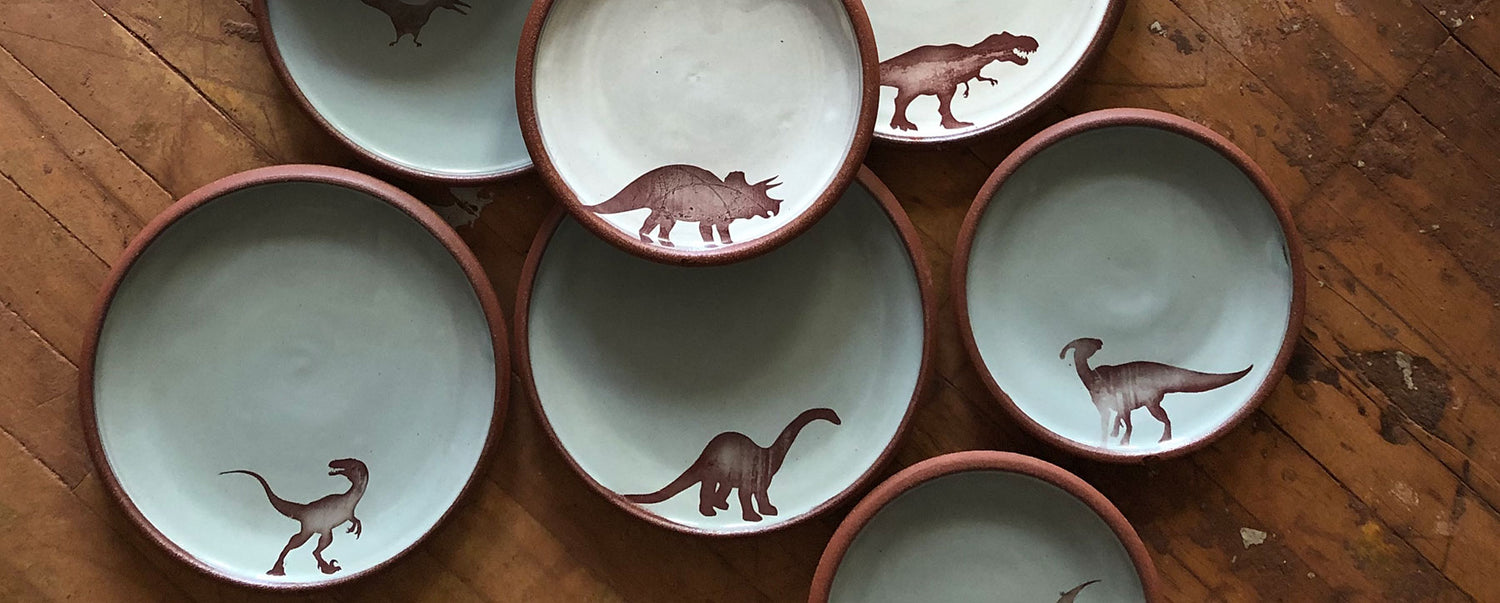
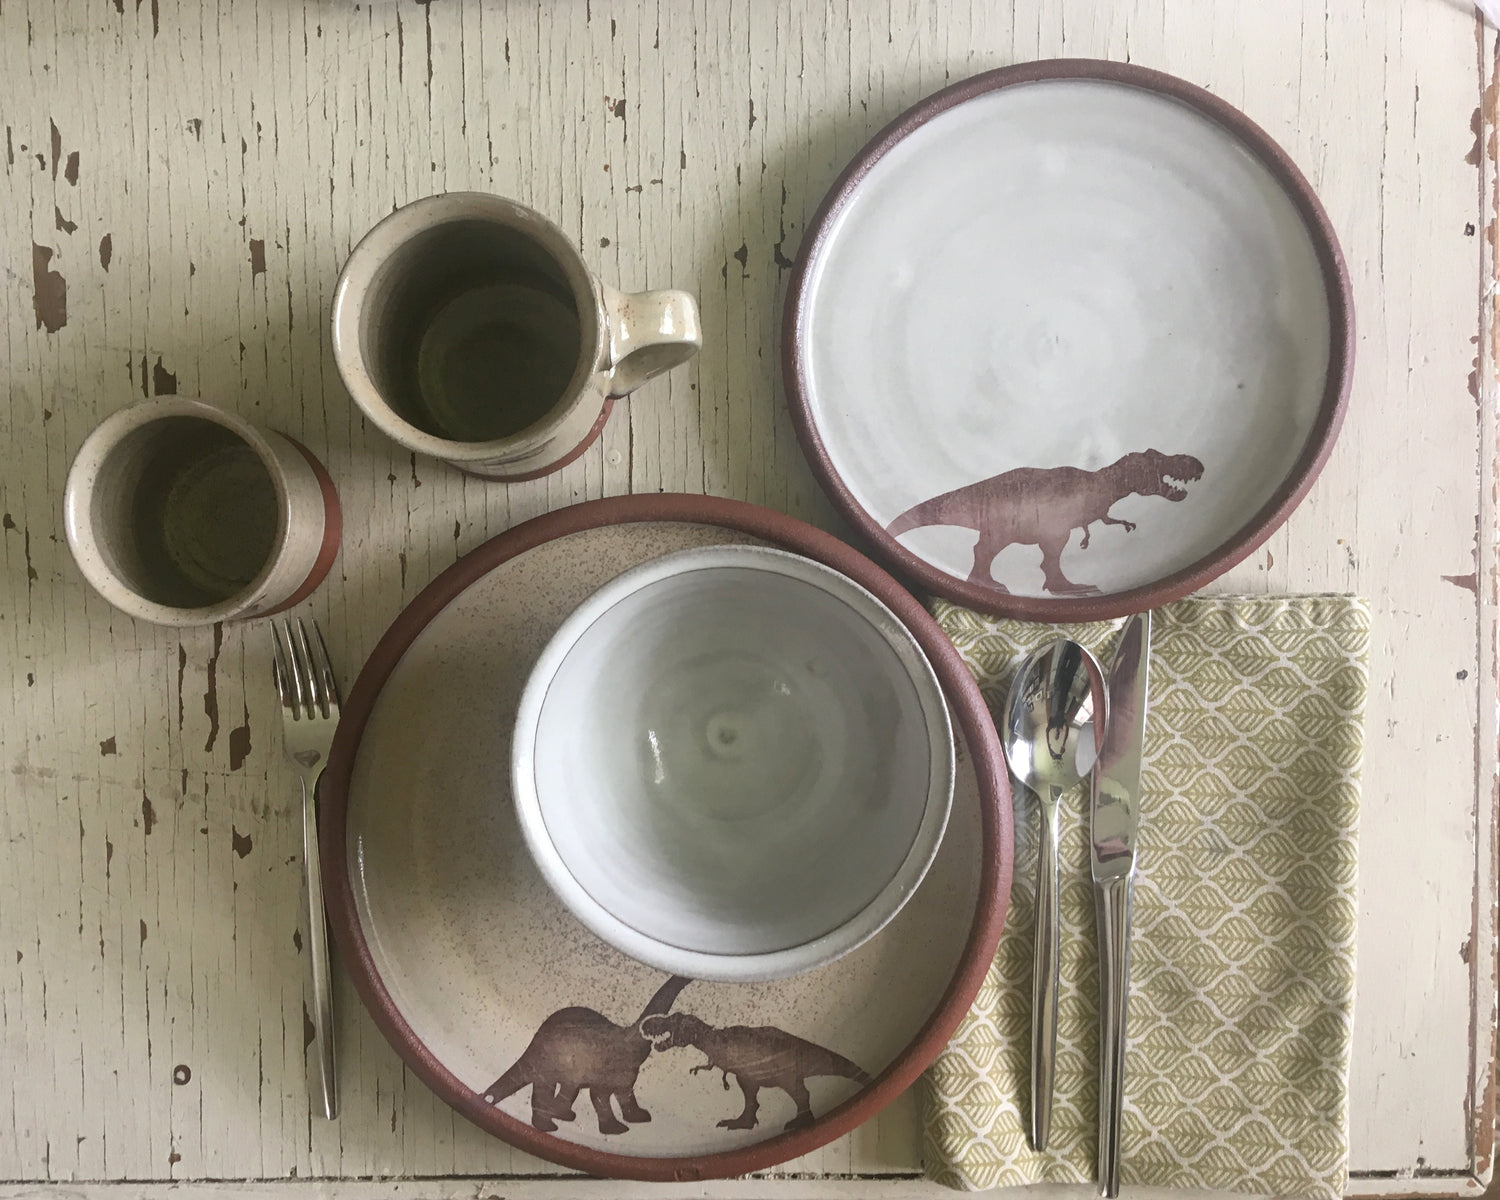
EAT
-
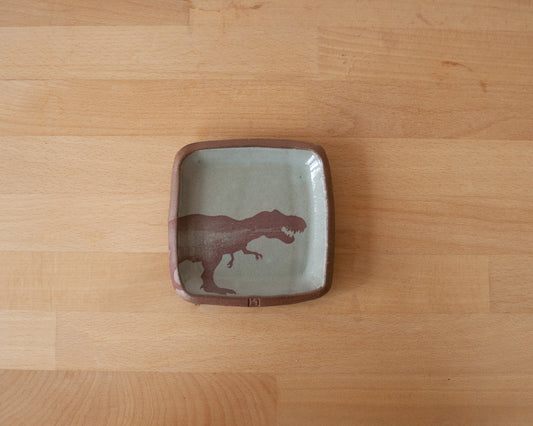
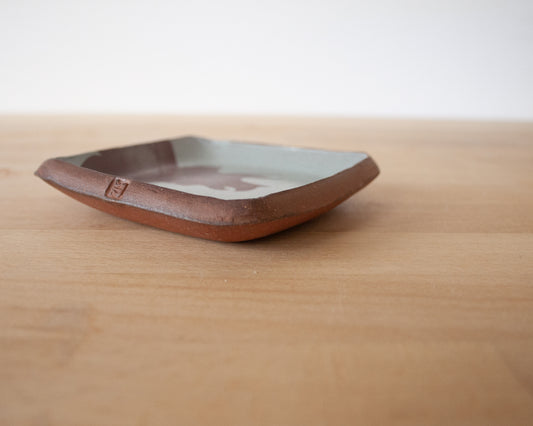
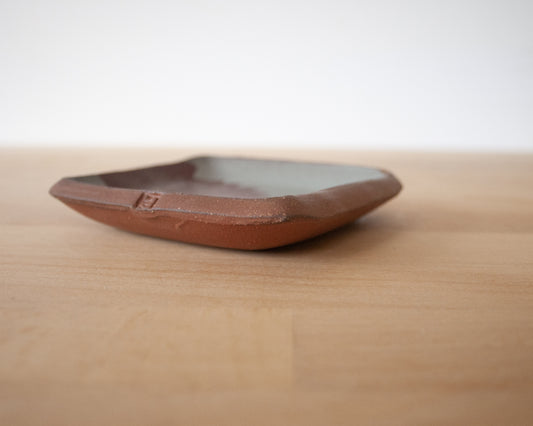
T-Rex Small Squared Dish - blue
Regular price $25.00 USDRegular priceUnit price per -
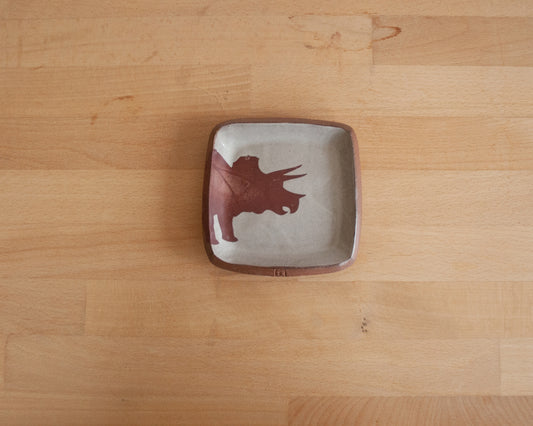
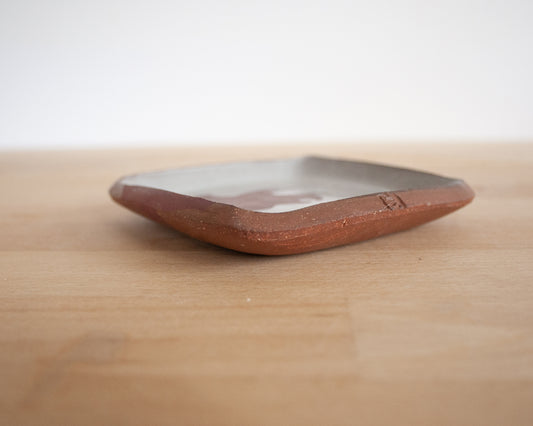
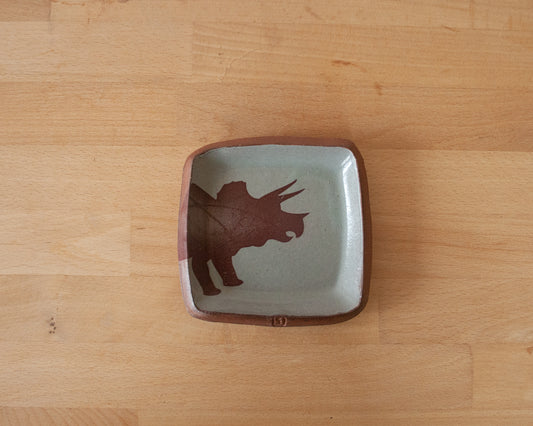
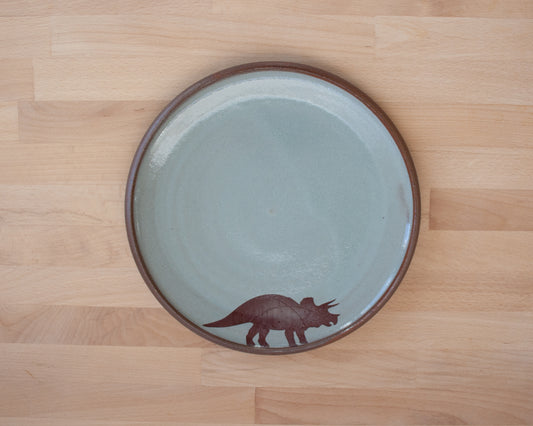
Triceratops Small Squared Dish - white
Regular price $25.00 USDRegular priceUnit price per -
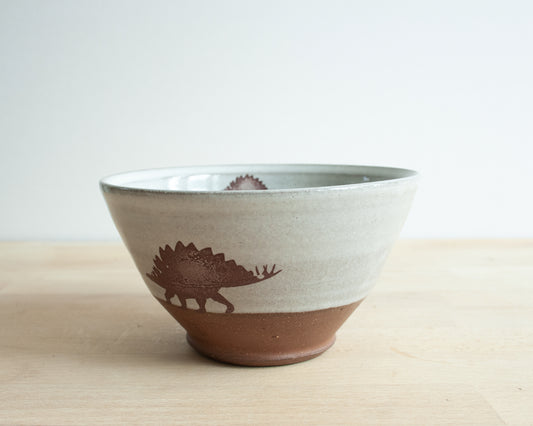
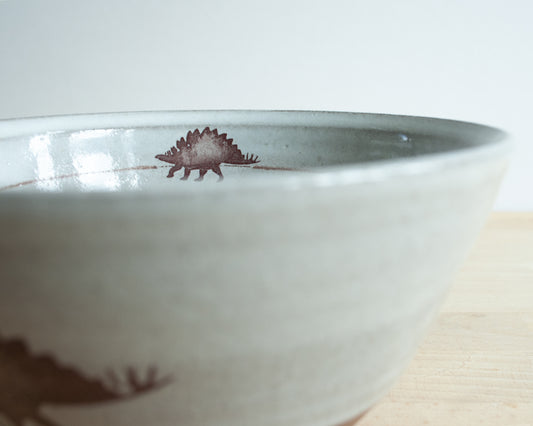
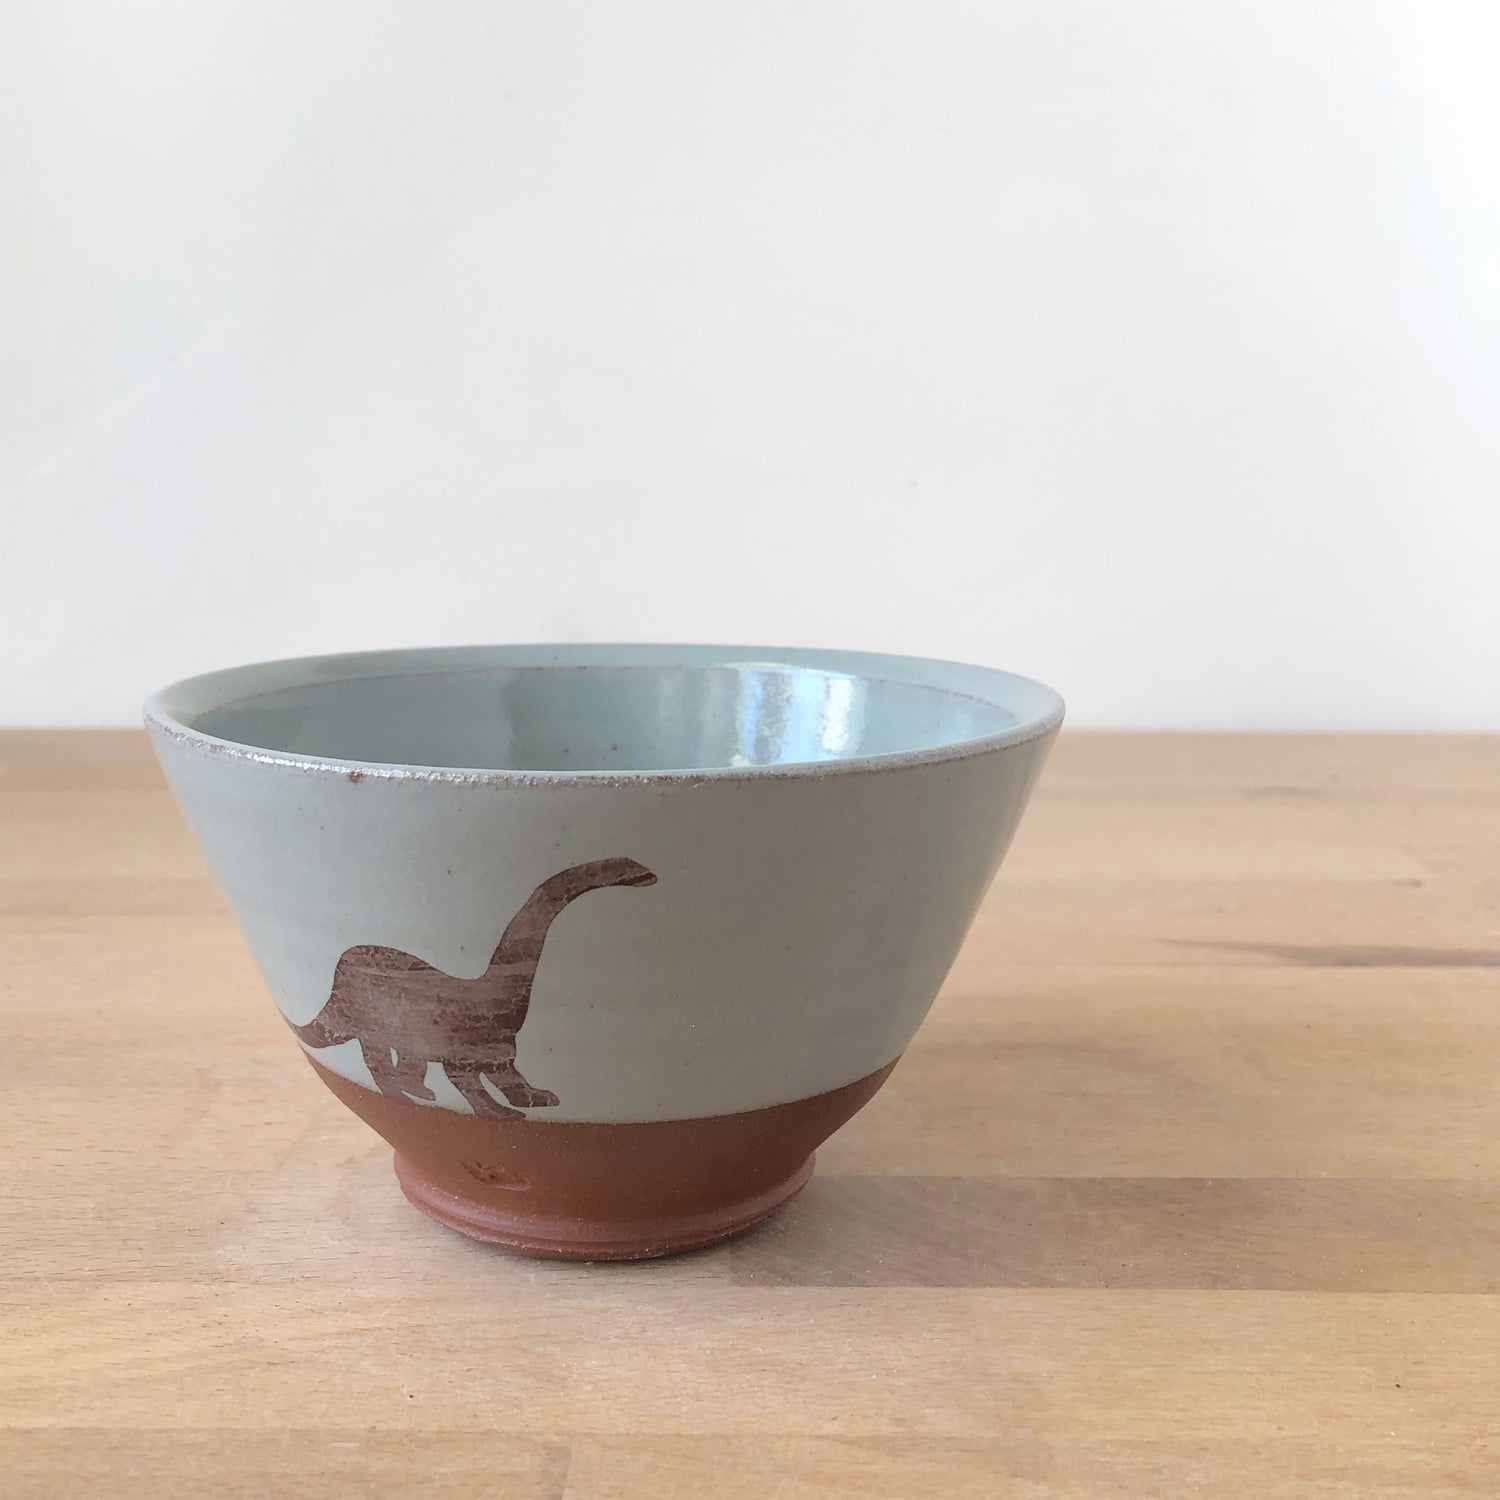
Stegosarus Bowl - white
Regular price $38.00 USDRegular priceUnit price per -
Triceratops Small Squared Dish - blue
Regular price $25.00 USDRegular priceUnit price per -
Made to order Noodle Bowl
Regular price $48.00 USDRegular priceUnit price per -
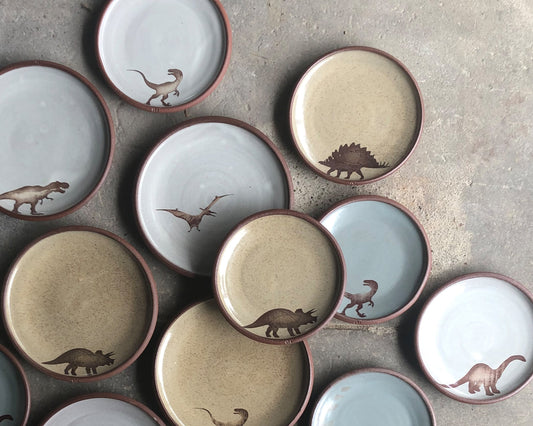
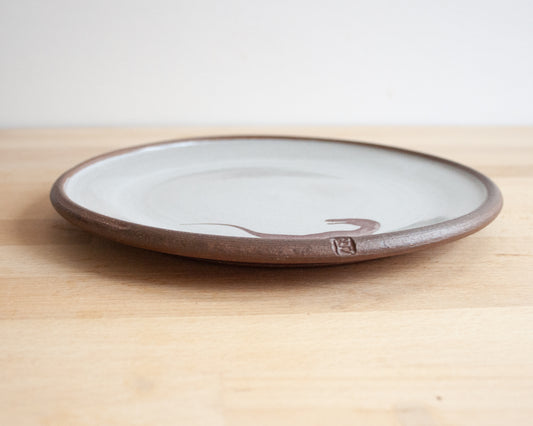
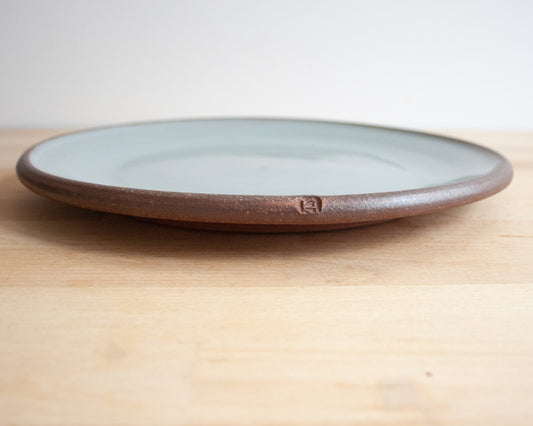
Made to order Side Plate
Regular price $45.00 USDRegular priceUnit price per -
Made to order Dinner Plate
Regular price $52.00 USDRegular priceUnit price per -
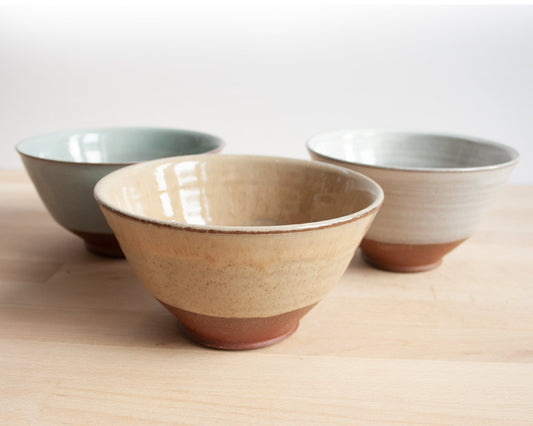
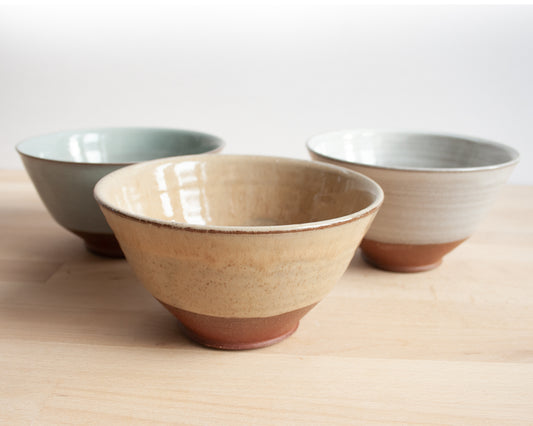
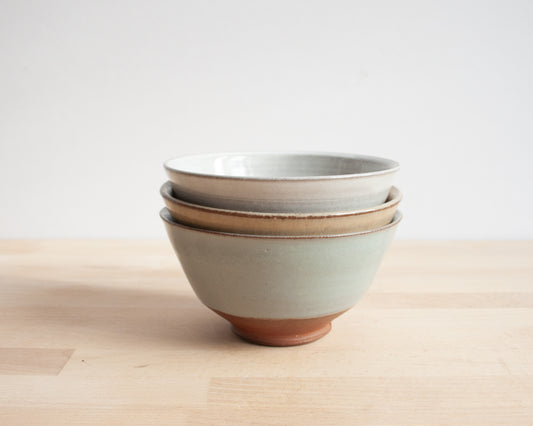
Made to order Bowl
Regular price $38.00 USDRegular priceUnit price per -
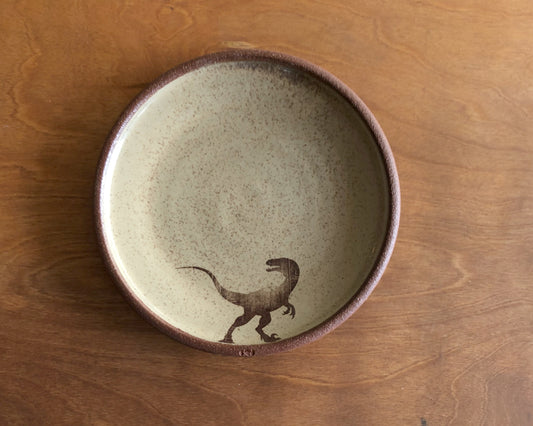
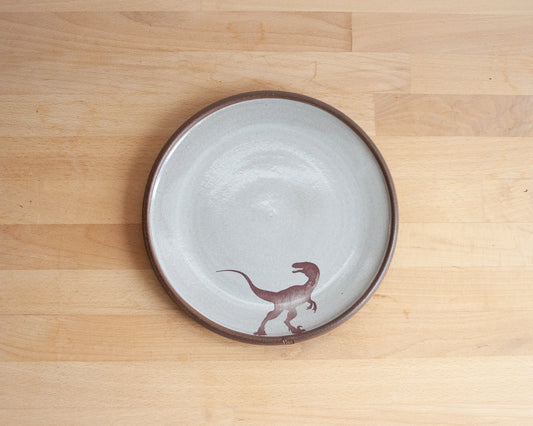
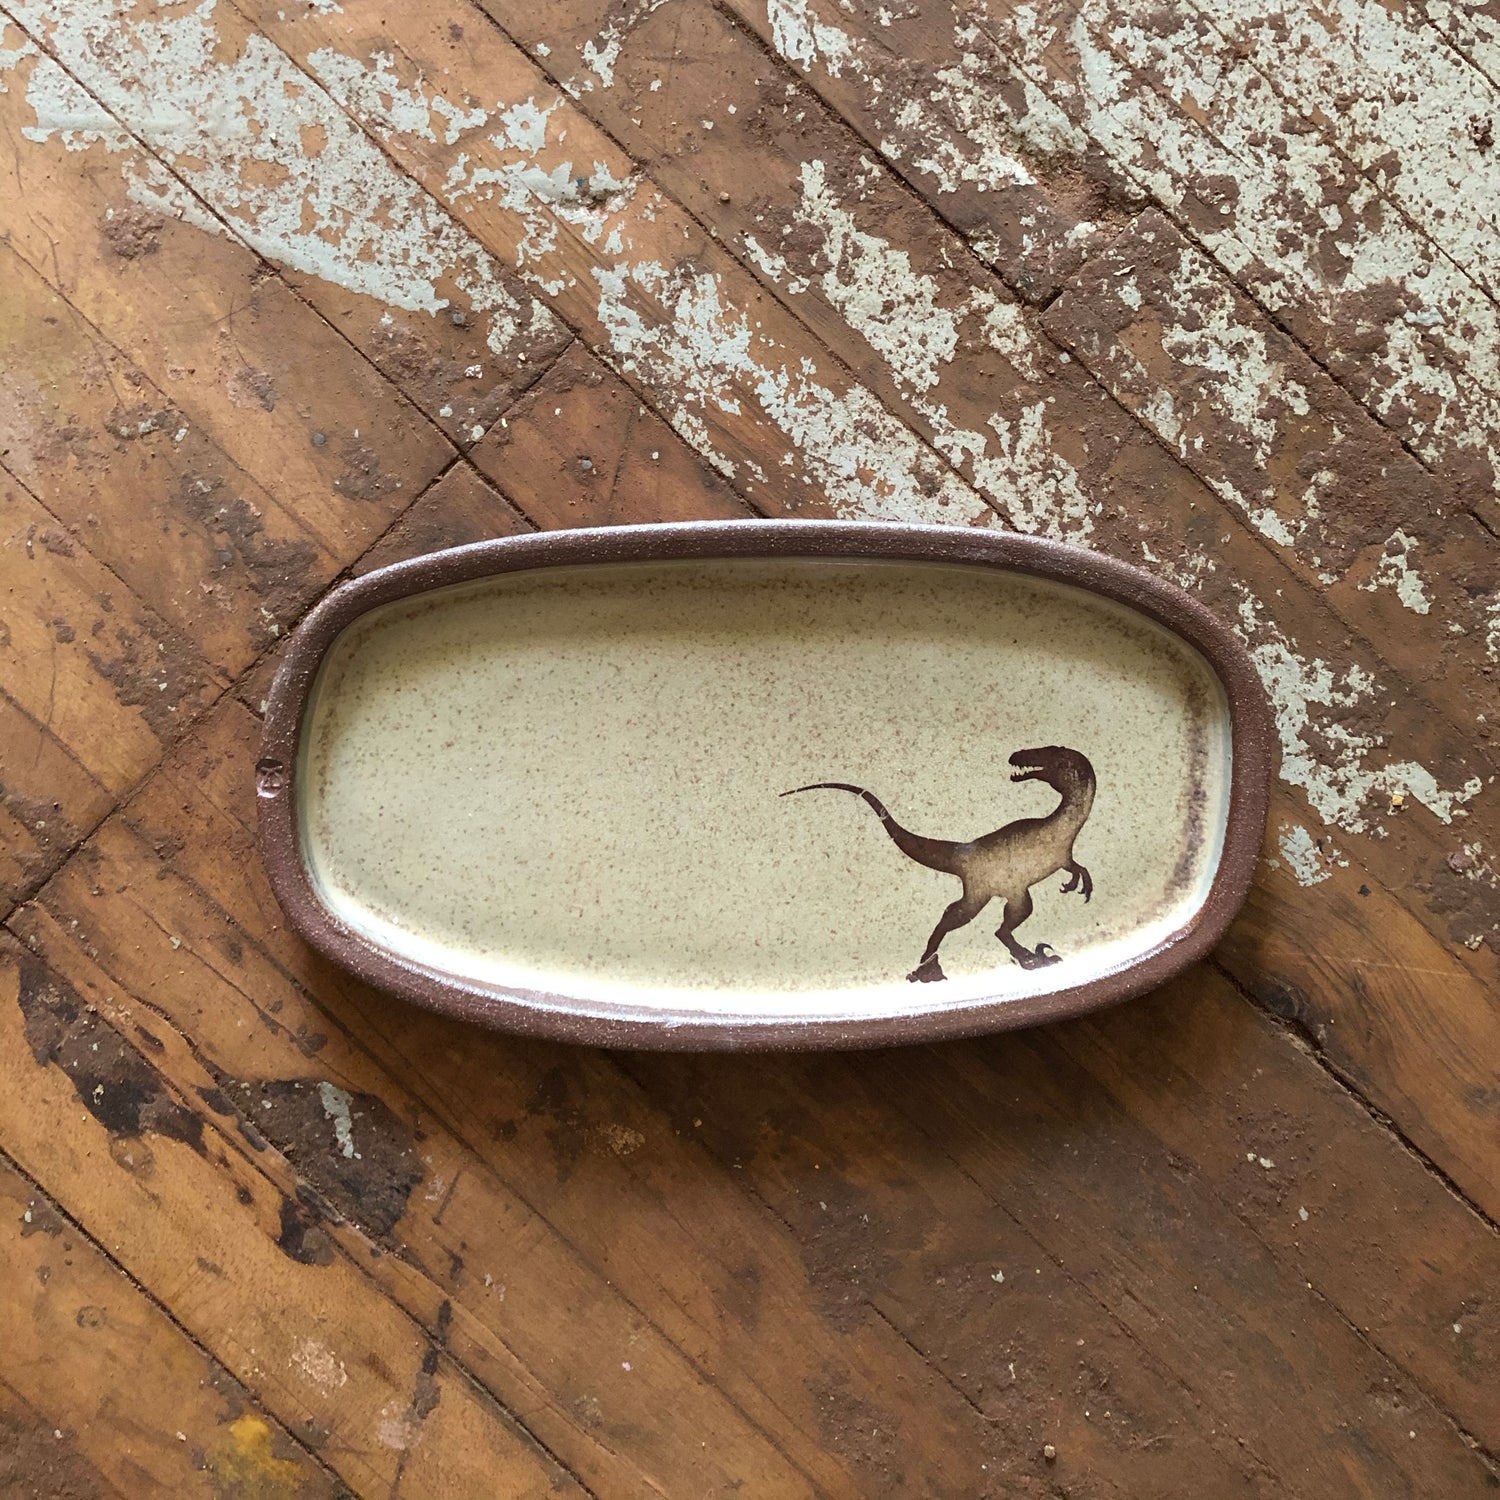
Velociraptor Side Plate - white
Regular price $45.00 USDRegular priceUnit price per -
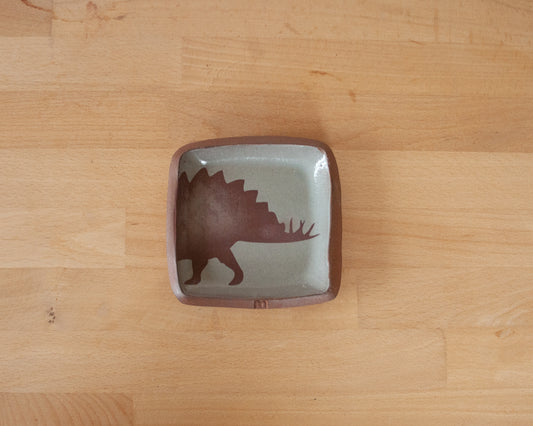
Stegosaurus Small Squared Dish - blue
Regular price $25.00 USDRegular priceUnit price per -
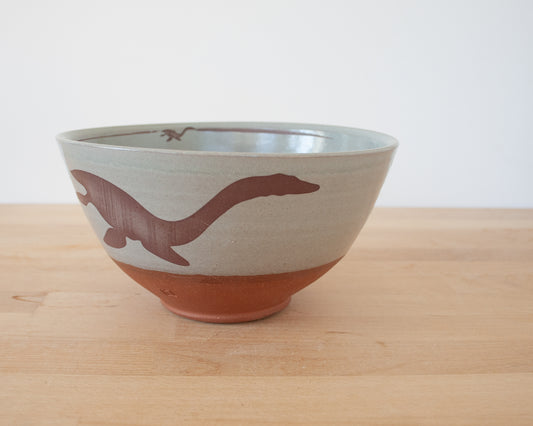
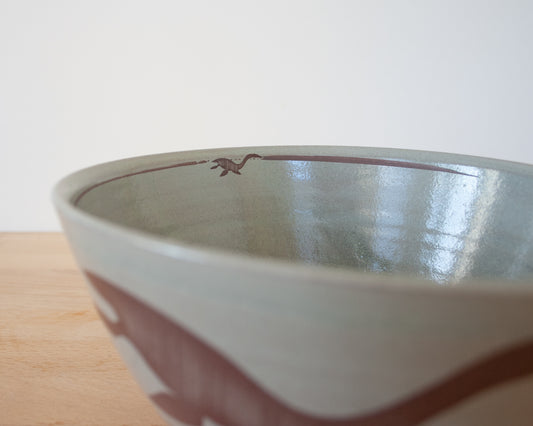
Plesiosaurus Noodle Bowl - blue
Regular price $48.00 USDRegular priceUnit price per -
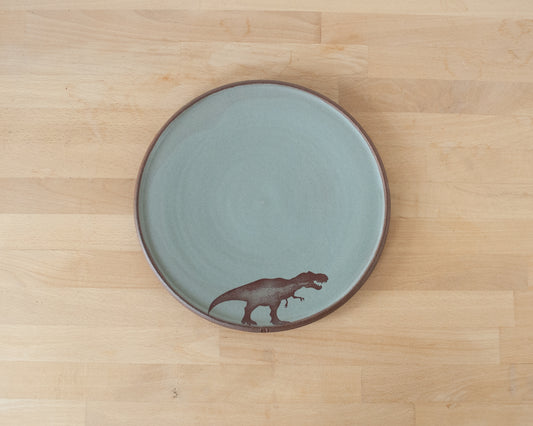
T-Rex Dinner Plate - blue
Regular price $52.00 USDRegular priceUnit price per


-
"Exactly what I was looking for with great communication, fast shipping and absolutely beautiful craftsmanship. Cannot recommend this shop enough!"
-Rachel
-
Column
"BEST. MUG. EVER."
-Ayla
-
Column
"I love this mug so much!! It has a very comfortable handle and it's clear this was made with care. The size is perfect for my morning coffee and it brings joy to my morning! This mug is worth every penny, will be looking to add to my new collection in the future."
-Noelle
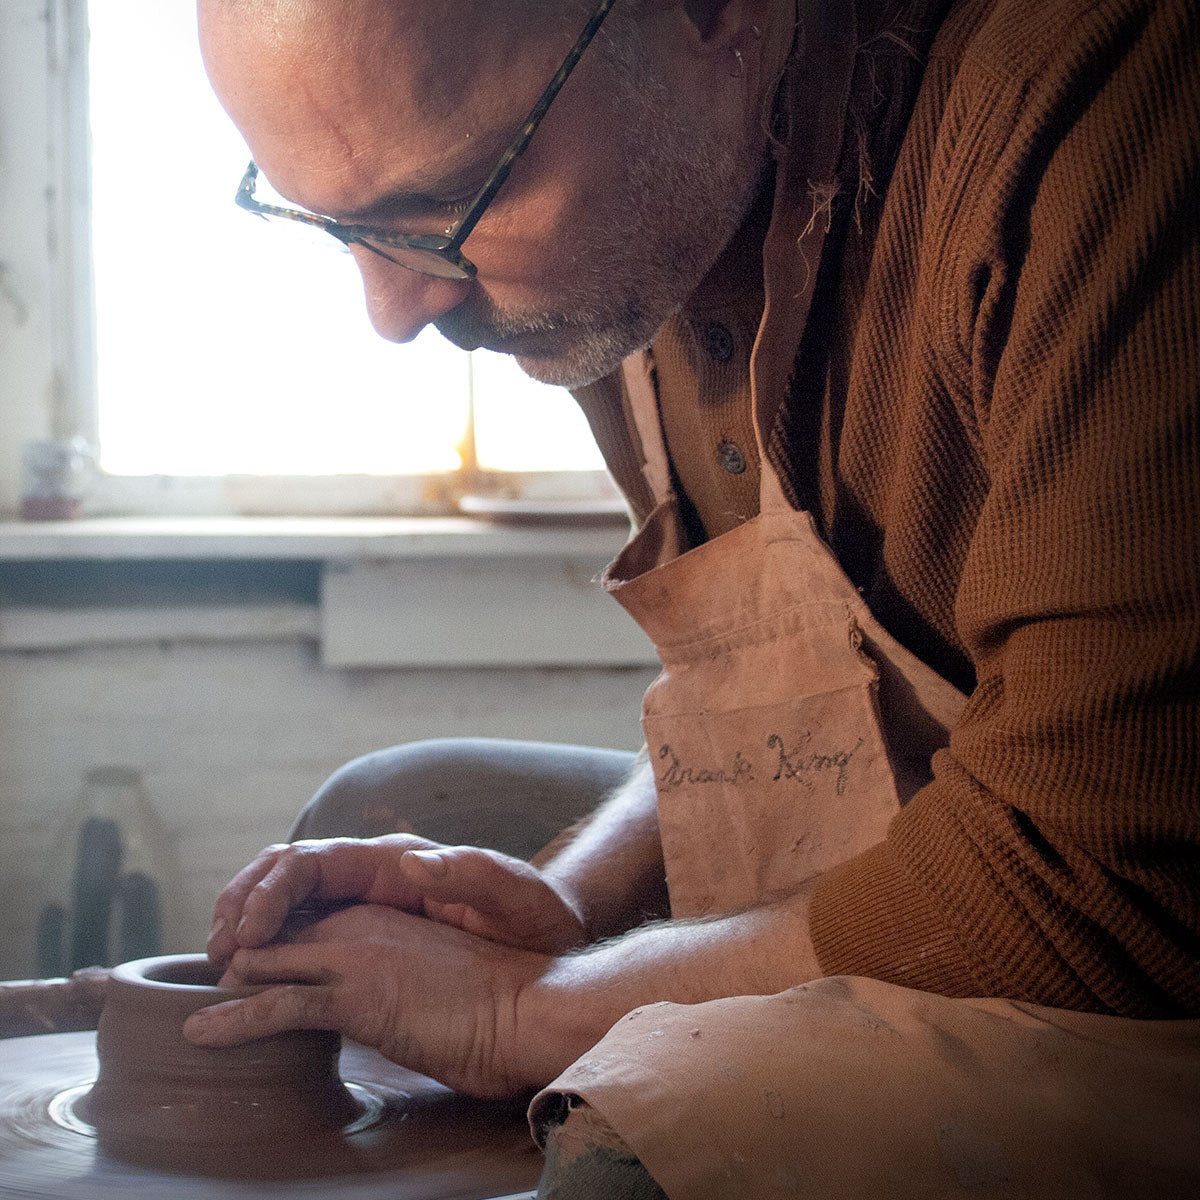
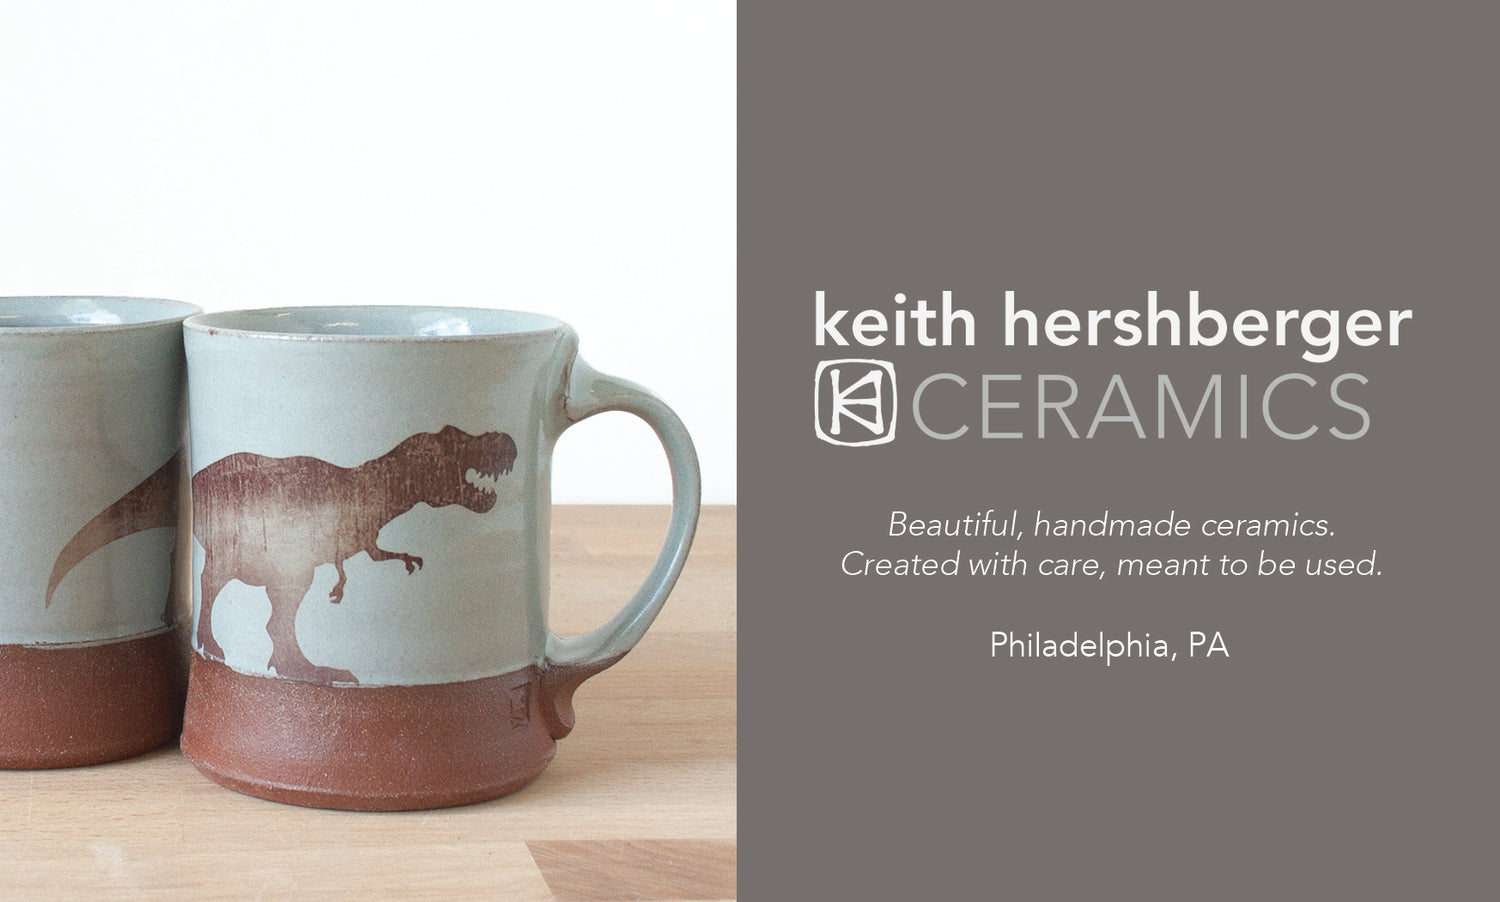
I MAKE WHEEL THROWN POTTERY THAT IS CREATED WITH CARE, AND MEANT TO BE USED.
Keith Hershberger is a potter living outside Philadelphia, PA who has been making a living working in clay for 25 years. A dino nut as a child, he could name every dinosaur discovered by the time he was four, and he spent countless hours drawing them. Now, with his line of dinosaur pottery, he found a way to bring some of that carefree childhood joy into his ceramic work. You can find his work in shops and galleries across the US, and at occasional shows throughout the east coast and midwest. His work has been published in 500 Prints on Clay and in Graphic Clay by Jason Burnett. He graduated from Goshen College with a B.A. in Fine Art with a focus on ceramics.
-
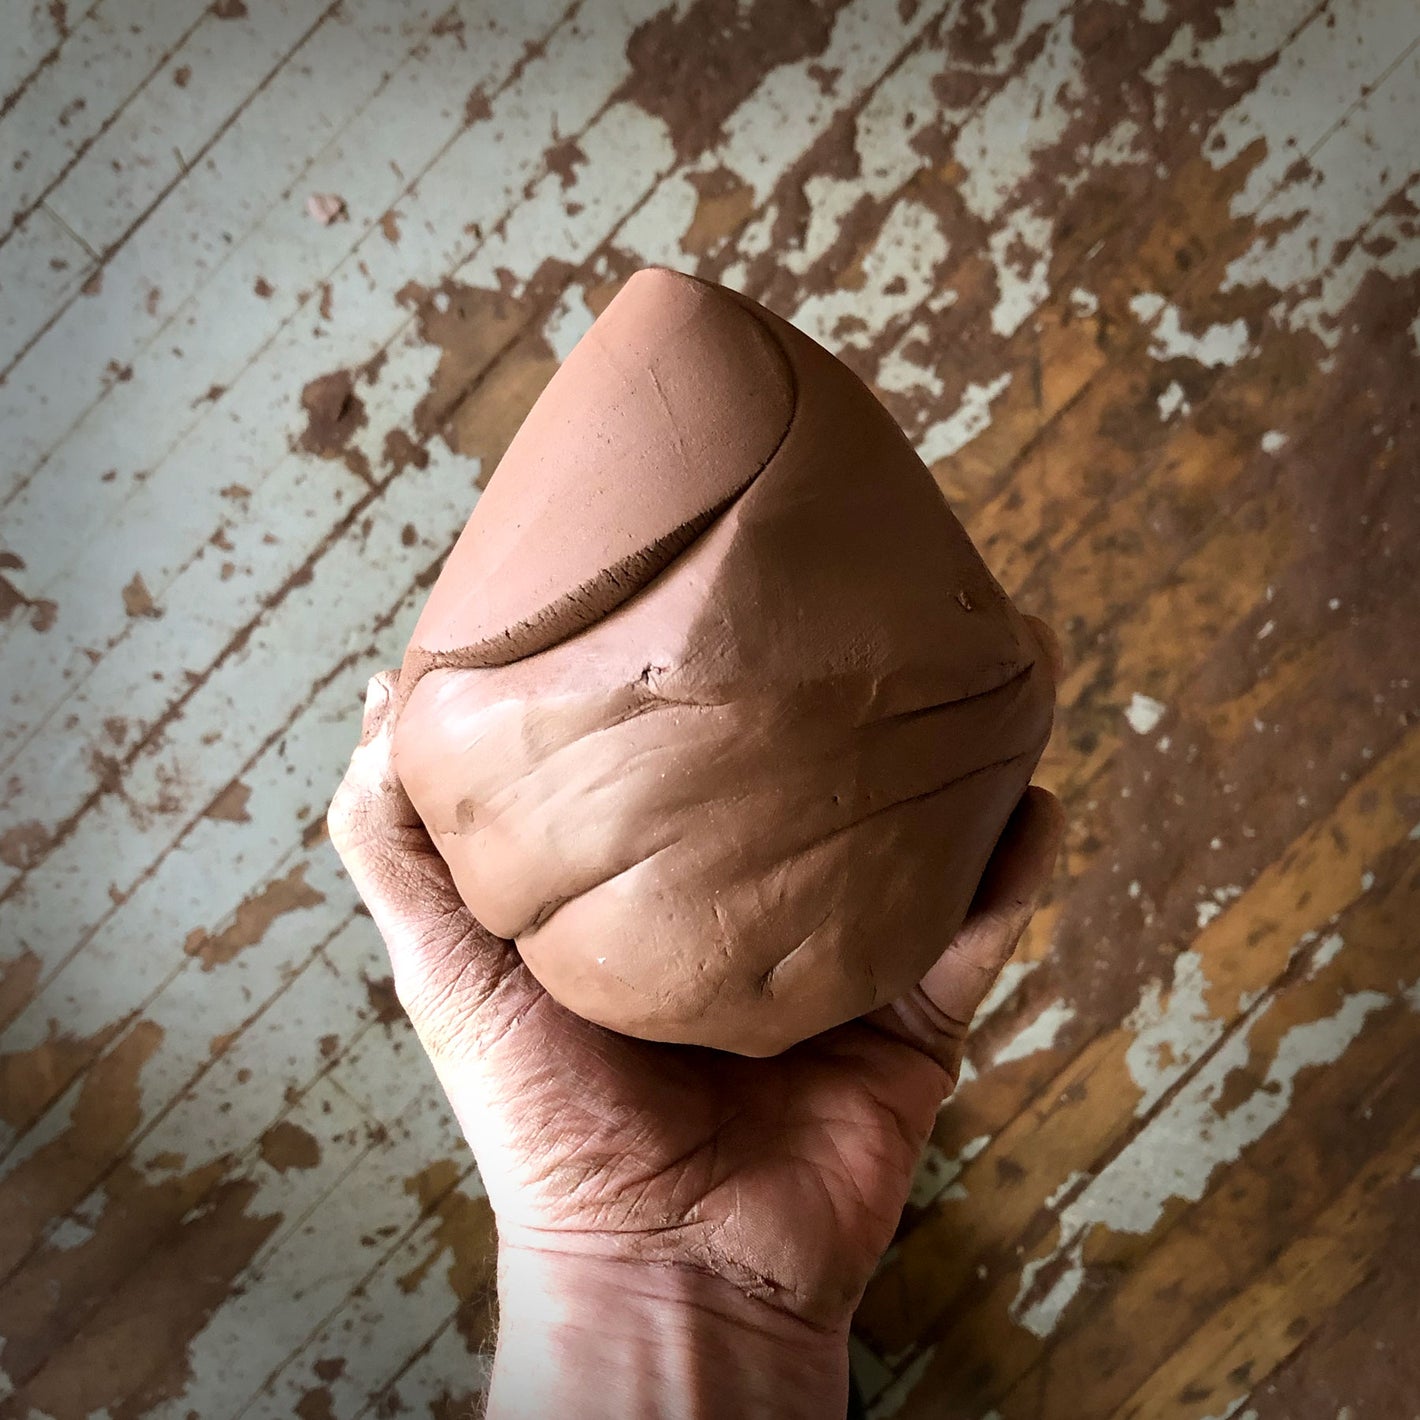
WEDGING
The first step in making my work is to cut up the clay and weigh it so all the pieces of clay are the correct weight for the shape I’ll be making. I then wedge the clay to make it consistent and work out any air bubbles.
-
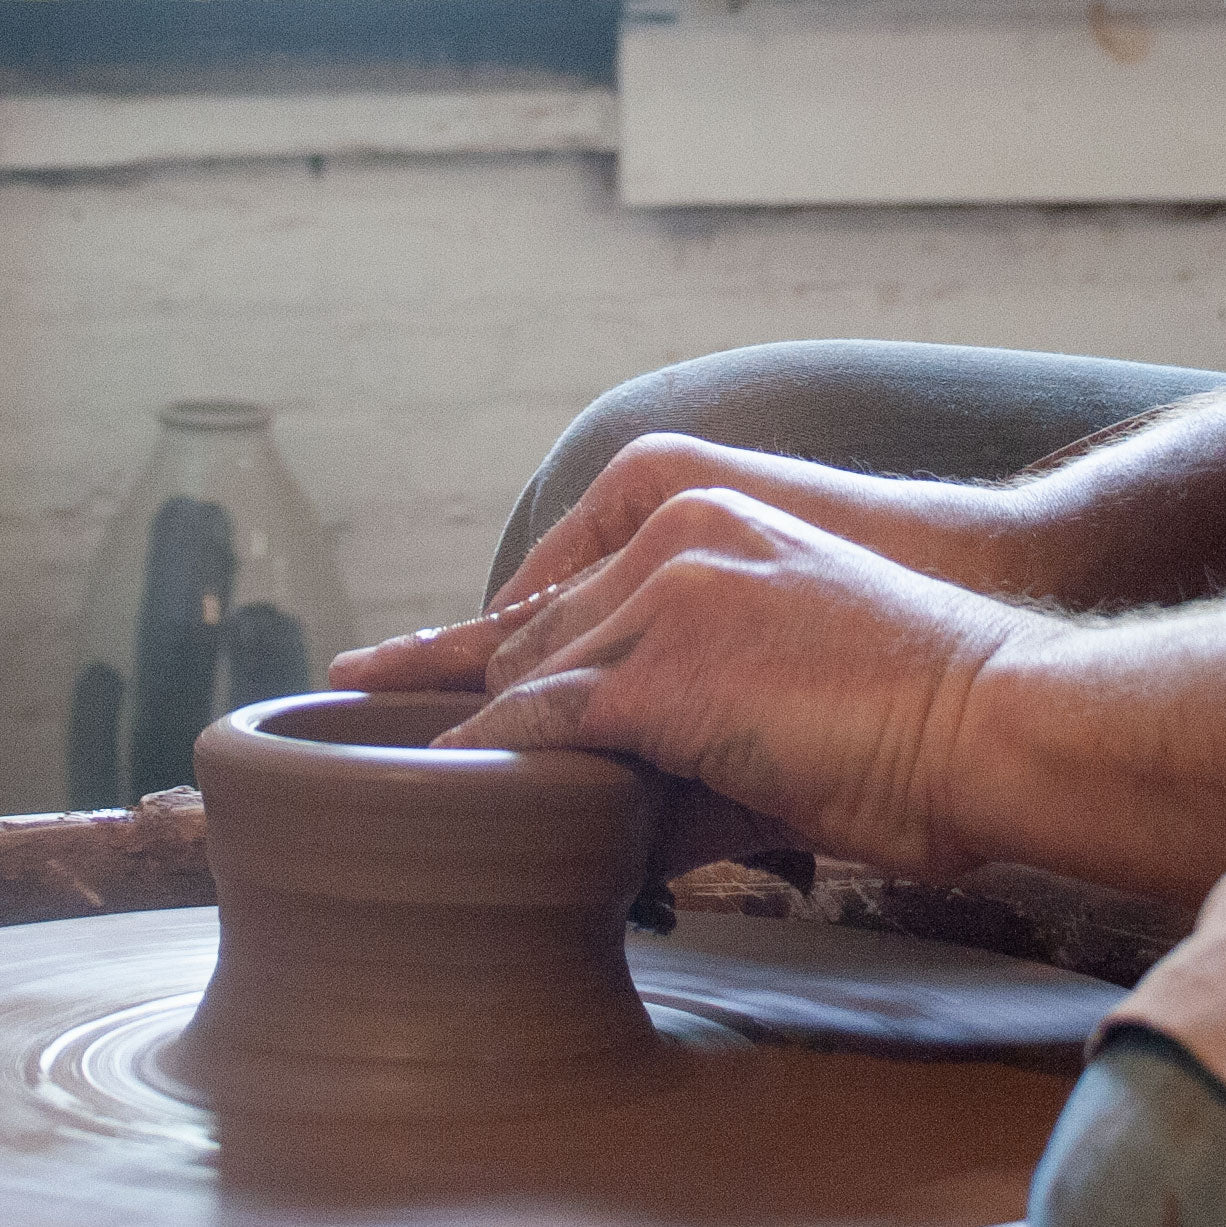
THROWING
Most of my work is made on the potter’s wheel. After it comes off the wheel, the clay is very soft, and needs to dry out until it is firm enough to continue to work with it.
-
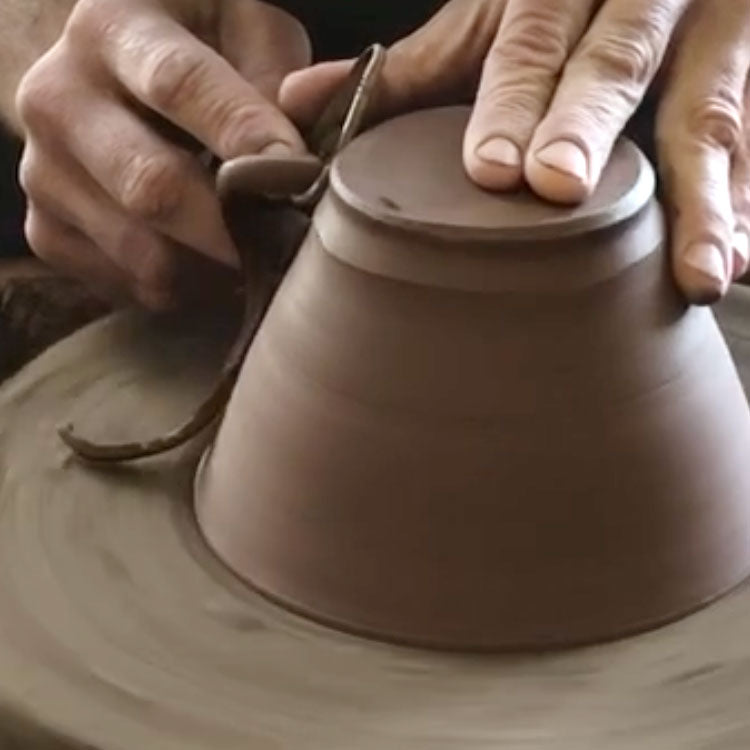
TRIMMING
Once the clay has dried to the point where it can't be bent, but can still be dented with a fingernail (a stage called leather hard), I turn my bowls and plates over and trim away the extra clay to create a nice foot.
-
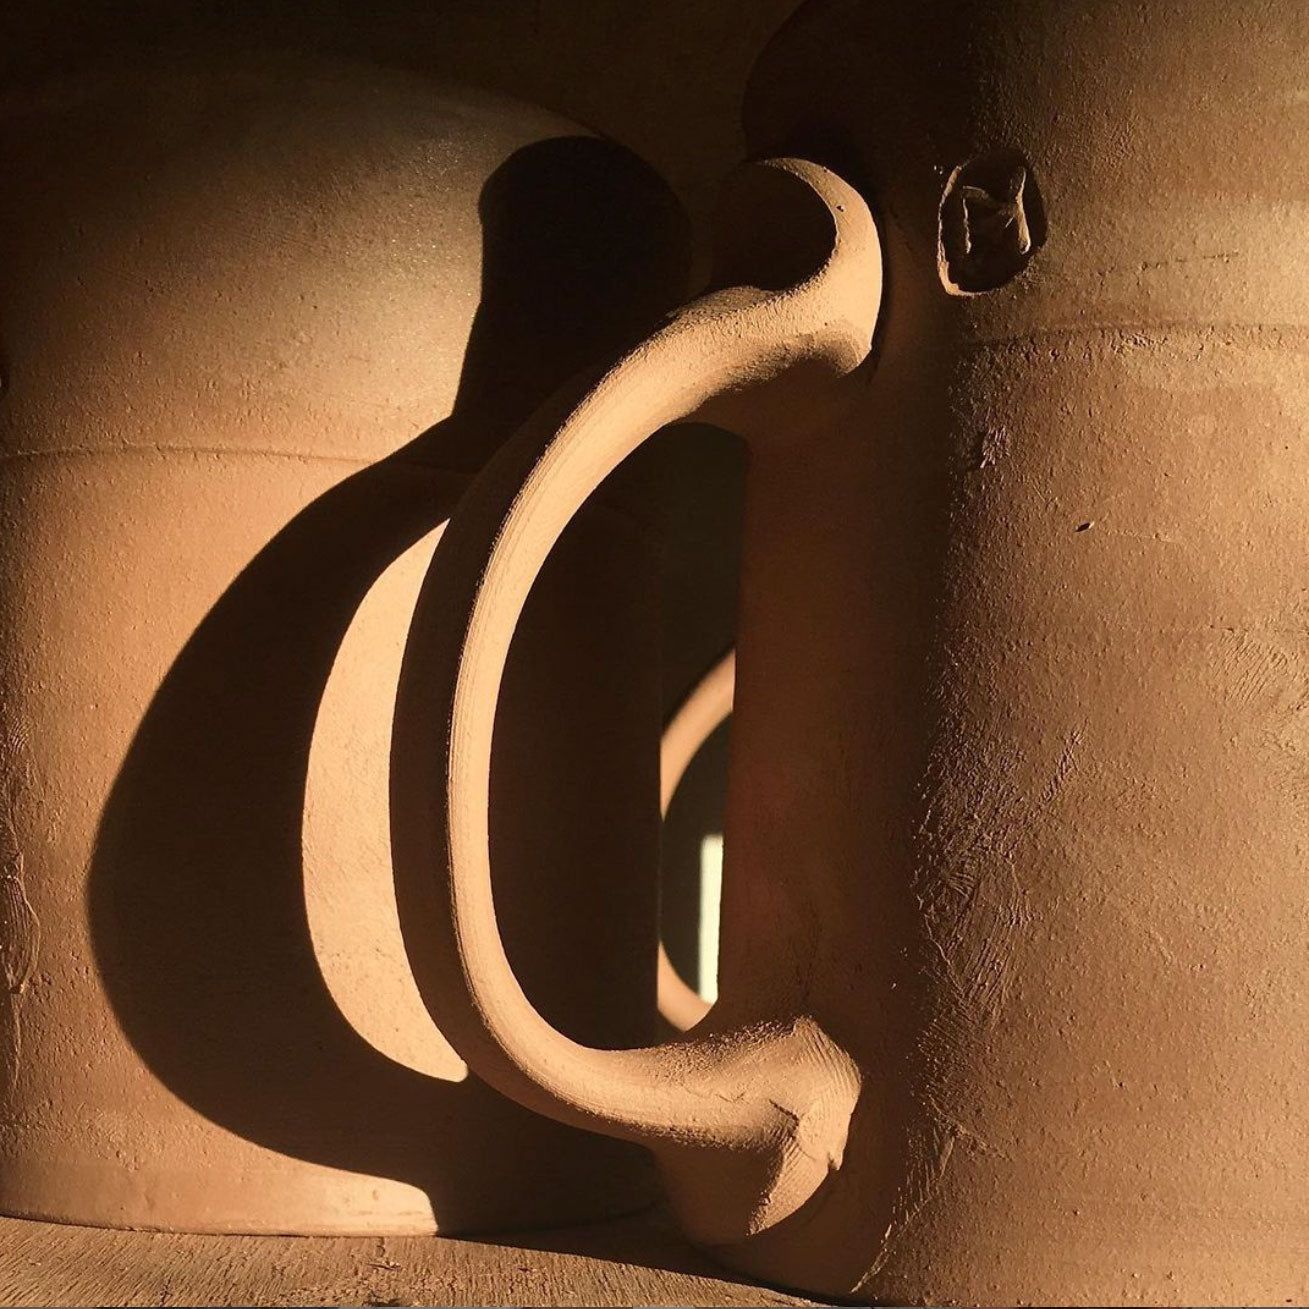
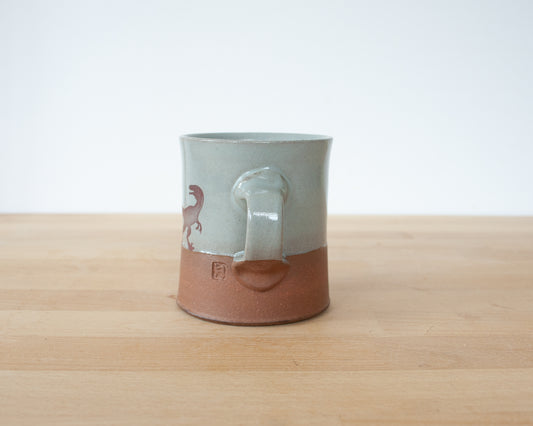
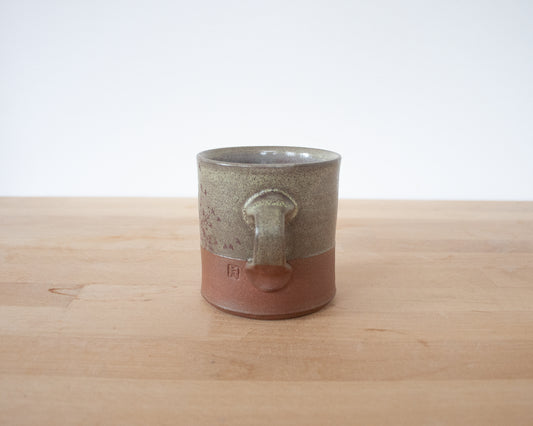
HANDLES
To make my handles, I attach a piece of soft clay to the leather-hard mug, pull it to stretch it out into shape, then attach it to the bottom of the mug. It takes me longer to use this method, but allows me to make a comfortable handle that is thin in the middle and thicker at the top and bottom attachment points.
-
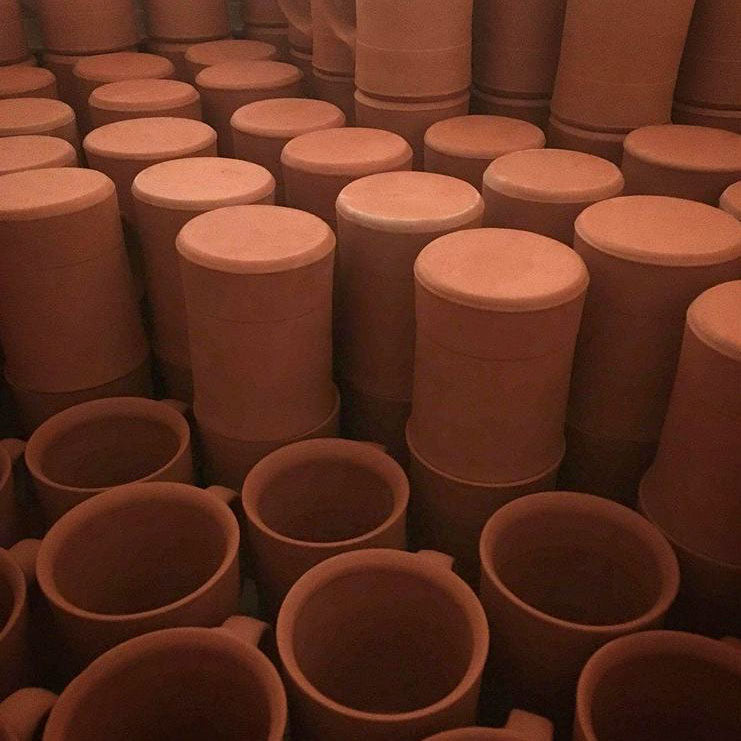
BISQUE
After the work dries completely, I load it into the kiln for the first firing to over 1700F. This makes the work less fragile for glazing, allows for consistent glaze thickness, and removes all water down to the molecular level so they can never be turned back into workable clay.
-
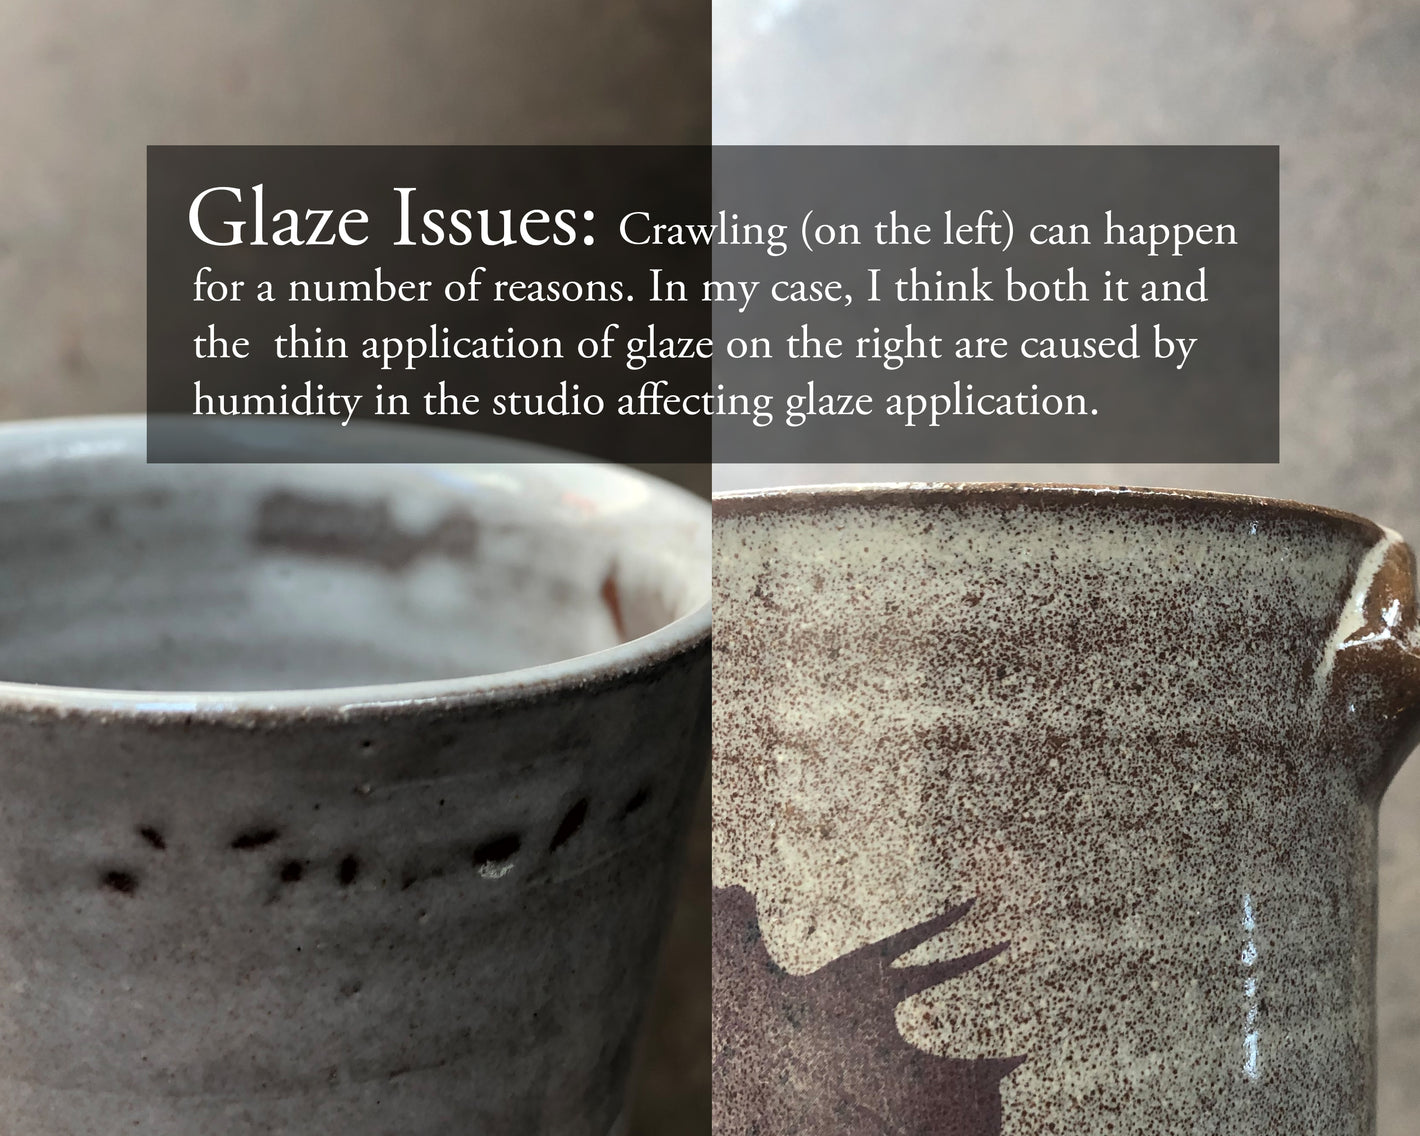
GLAZE
Glaze is essentially a layer of glass. I formulate, test, and mix my own glazes using water and dry raw materials. I dip the bisqued pieces in my glaze and load them in the kiln for the second firing, which goes to 2170F in order for the glaze to melt properly.
-
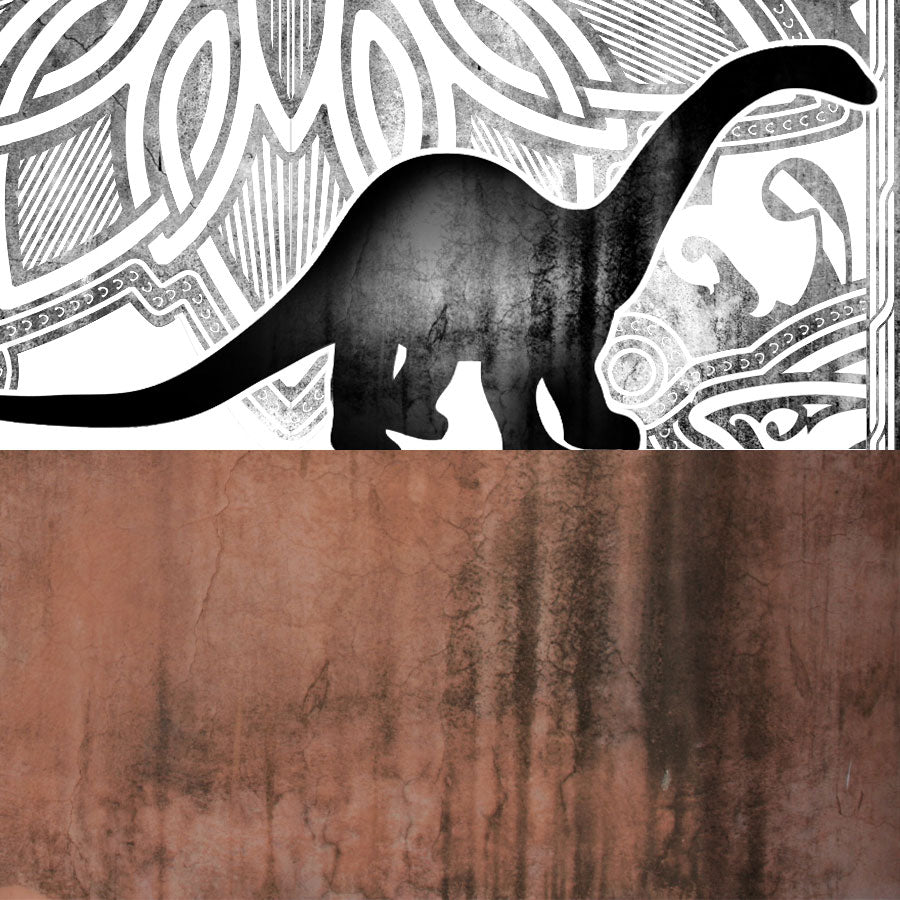
IMAGE DESIGN
I create my images through a combination of drawing by hand, found imagery, and digital editing in Photoshop and Illustrator. I also take photos of textures I find interesting and layer them into my images.
-
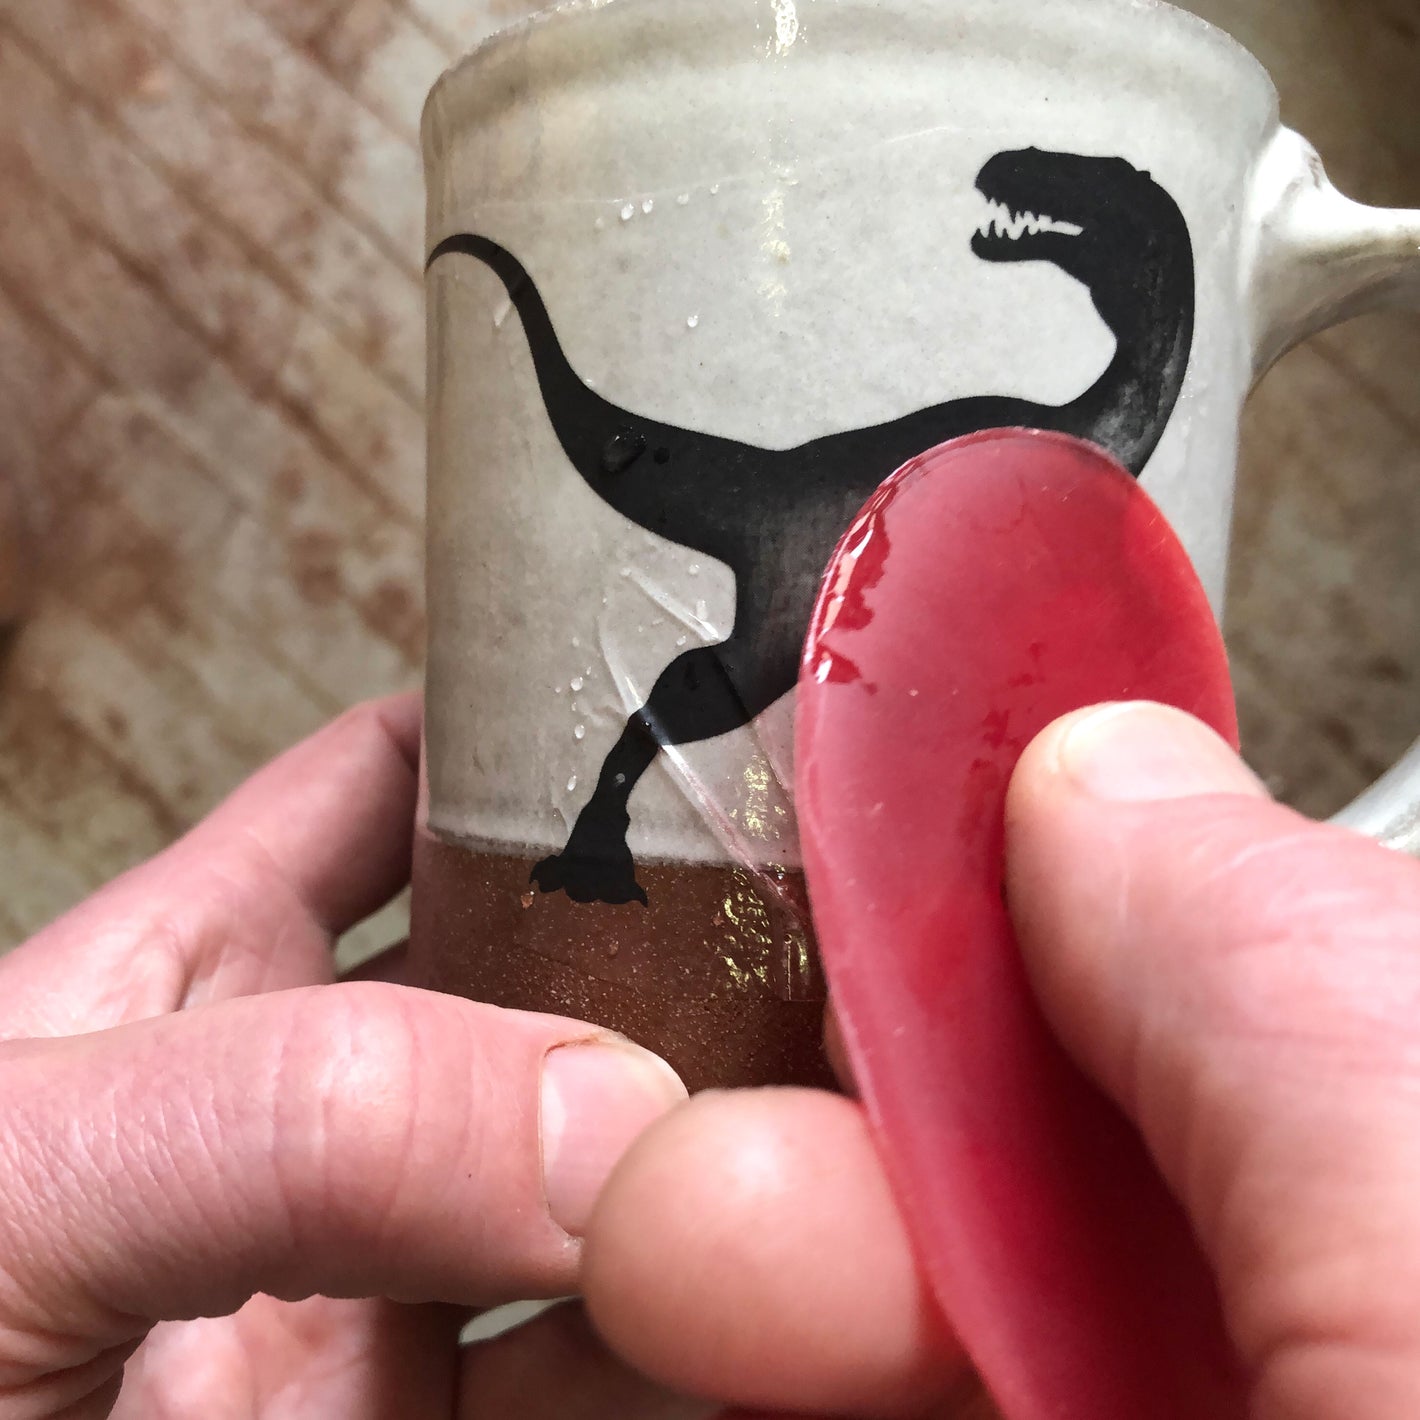
DECALS
I print my own decals, and after the glaze firing, I apply them to the finished surface and put them back in the kiln for a third firing. The decal paper burns away, but the iron oxide in the black ink sets into the glaze and transfers the image.
-
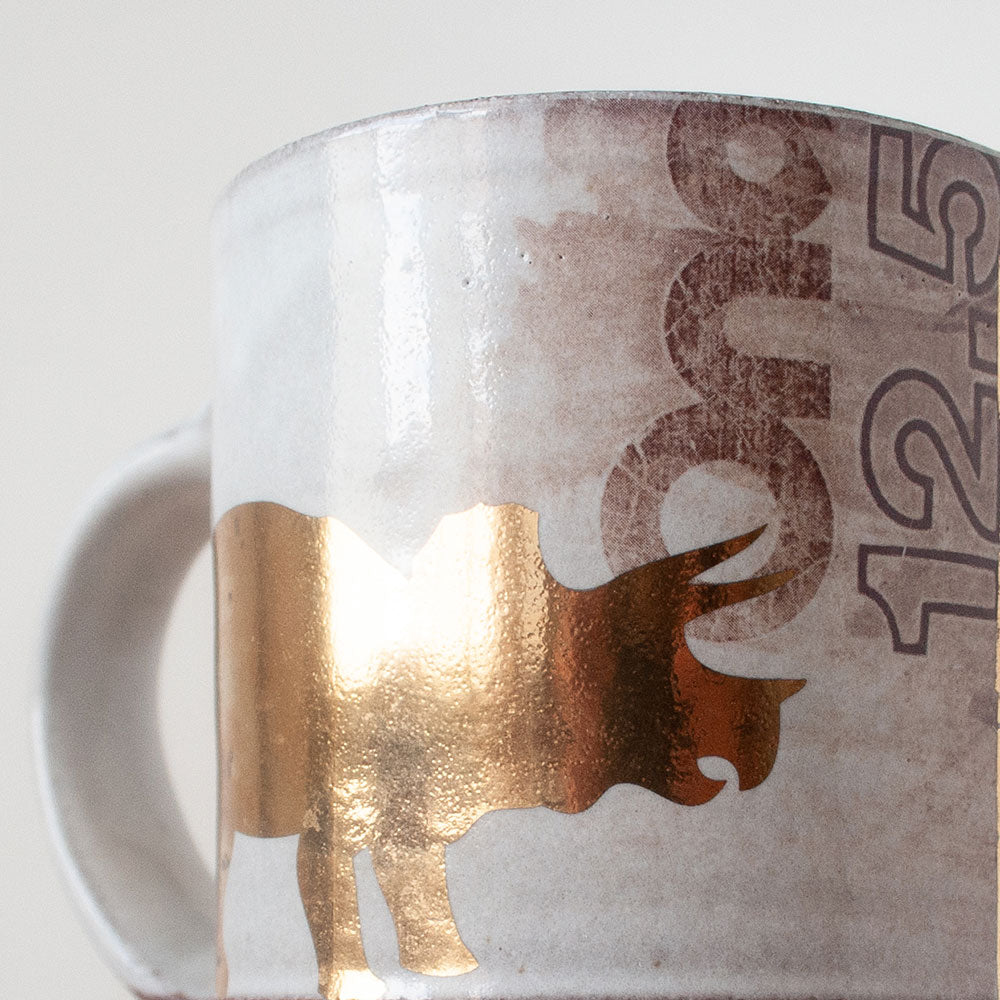
GOLD
On some pieces, I do a final fourth firing with custom 20k gold decals